

This guide will show you how to achieve 100% completion on LEGO Pirates of the Caribbean Level 11, Singapore.
The video above will provides the full game play required, but there is additional information below to help further.
LEGO Pirates of the Caribbean Guides
Level 1 – Port Royal
Level 2 – Tortuga
Level 3 – The Black Pearl Attacks
Level 4 – Smuggler’s Den
Level 5 – Isla De Muerta
Level 6 – Pelegosto
Level 7 – A Touch Of Destiny
Level 8 – The Dutchman’s Secret
Level 9 – Isla Cruces
Level 10 – The Kraken
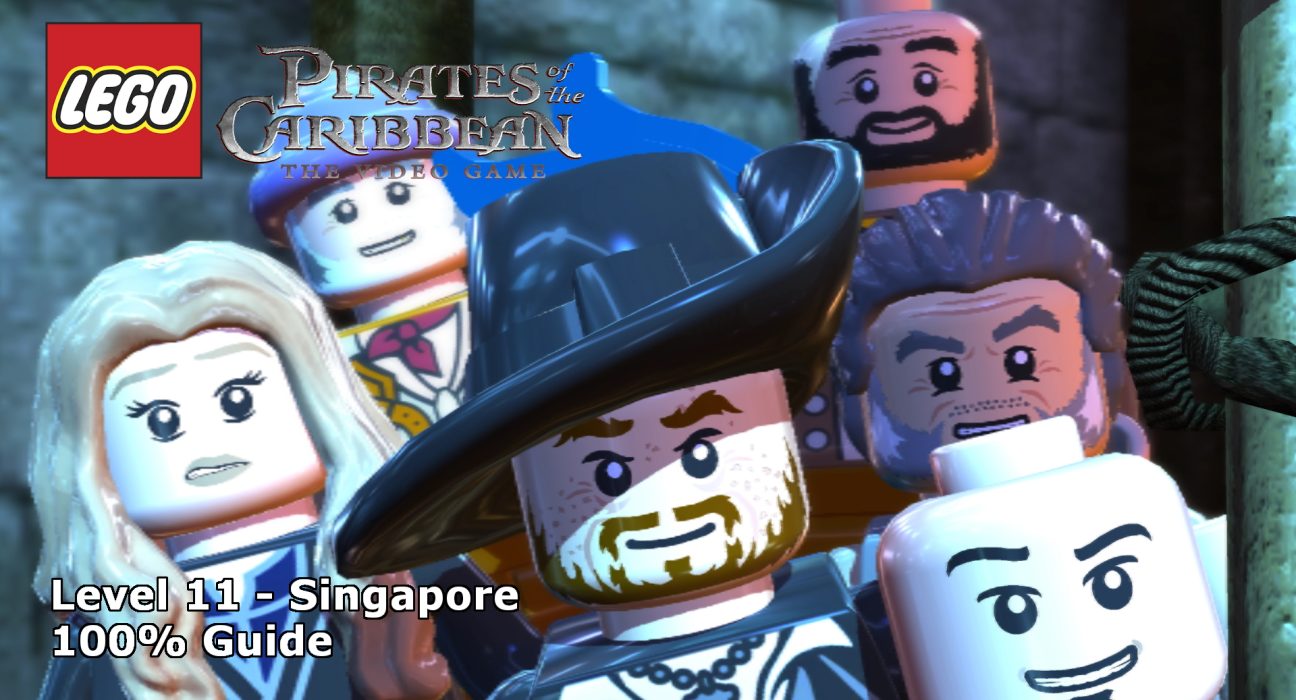
Level 11 – Singapore
Level 12 – Davy Jones’ Locker
Level 13 – Norrington’s Choice
Level 14 – The Brethren Court
Level 15 – The Maelstrom
Level 16 – London Town
Level 17 – Queen Anne’s Revenge
Level 18 – White Cap Bay
Level 19 – A Spanish Legacy
Level 20 – The Fountain of Youth
This guide will show you how to achieve 100% completion on LEGO Pirates of the Caribbean.
Each level of in LEGO Pirates requires you to complete the following:
- Find TEN Minikits
- Find EIGHT Compass Points
Please support our YouTube channel by subscribing and liking this video. We aim to provide easy to follow guides and any feedback is welcome.
Minikits
Minikit #1 (00:27):
As soon as you start the level, destroy the silver-bricked gate in front of you and head in. Head left and grab the crate and place it on the green plate. Rebuild the pieces into a pile of coals and light it with the nearby torch. Jump on the giant fan three times for the minikit.
Minikit #2 (01:18):
From the previous minikit, head left and through the door at the back. In the steam room, push to two large bowls as far as they’ll go. Next jump up to the two chains on either side to close the vents. Finally align the pipes at the back to reveal the minikit.
Minikit #3 (02:23):
Head back to the start of the level, following the path you’ve followed up to this point. Head up the steps and then off to the left. Head on to the pier to find a strong handle that will control a crane and bring a crabbing crate to the surface. Carry it to the nearby green plate for the minikit.
Minikit #4 (03:07):
From the previous minikit, head back on the wooden path and head of the bridge following the bridge until you see a grapple hook. Use that to launch up to the minikit.
Minikit #5 (03:20):
Head back down and continue following the wooden path around until you reach a silver-bricked gate, destroy it. Head up the ladder and use Blackbeard to raise the inside gate for the minikit.
Minikit #6 (04:06):
Use the two wheels near the last minikit to open the gate below. The minikit is behind the gate.
Minikit #7 (04:50):
After retrieving Compass Point #3 carry the wheel over the bridge to the left, following the indicator. Use the wheel to move a bridge into position. Cross the bridge and jump up to the chains to open the door and reveal the minikit.
Minikit #8 (05:16):
To the left of the previous minikit is a gate with two targets next to it. Shoot them both and head in for the minikit
Minikit #9 (05:56):
Jump in the water and swim left. There’s a crate next to a tower, destroy it to reveal a crawl hatch that will take you to the minikit.
Minikit #10 (06:06):
In the next section, find the strong handle near the waters edge and use it to pull over a bridge. There is a large slab of ice hanging with a target over it. Shoot it down and shatter it for the minikit.
Compass Points
Compass Point #1 (02:11):
From the start of the level, head up the stairs and to the left. Activate the compass to find the fish and hand it to the fish-monger.
Compass Point #2 (03:45):
You’ll get this by default as part of Minikit #6.
Compass Point #3 (04:27):
Head back to the fish-monger and use the double-jump to get up to the roof and use the zipline. On the other side, activate the compass to find a wheel.
Compass Point #4 (05:33):
You’ll get this by default as part of Minikit #9.
Compass Point #5 (06:55):
Next to the ice used to get Minikit #10, there is large crate hanging with a target above it. Shoot it down for the compass point.
Compass Point #6 (07:02):
Activate the compass after the last point for the pistol.
Compass Point #7 (07:28):
Activate the compass after the last point for the carrot. Shoot down the crate of carrots reveals by following the compass.
Compass Point #8 (07:50):
Part of the story – can’t be missed.


