

This guide will show you how to achieve 100% completion on LEGO Pirates of the Caribbean Level 6, Pelegosto.
The video above will provides the full game play required, but there is additional information below to help further.
LEGO Pirates of the Caribbean Guides
Level 1 – Port Royal
Level 2 – Tortuga
Level 3 – The Black Pearl Attacks
Level 4 – Smuggler’s Den
Level 5 – Isla De Muerta
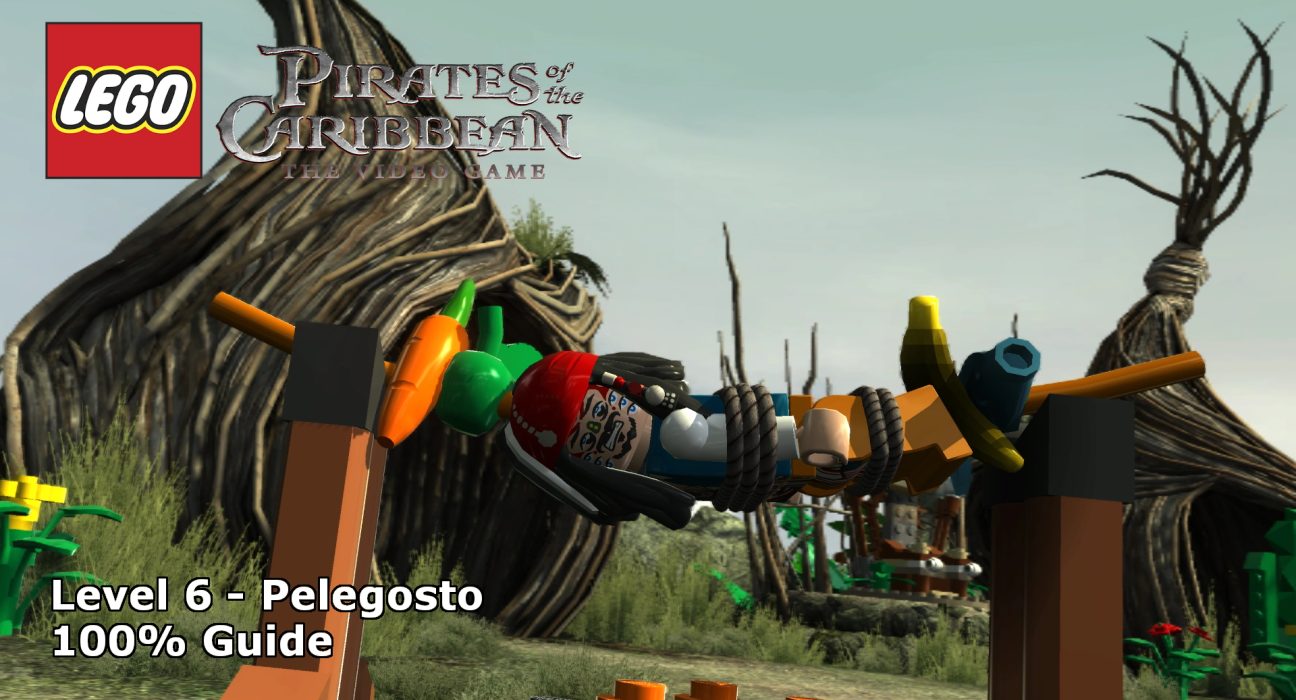
Level 6 – Pelegosto
Level 7 – A Touch Of Destiny
Level 8 – The Dutchman’s Secret
Level 9 – Isla Cruces
Level 10 – The Kraken
Level 11 – Singapore
Level 12 – Davy Jones’ Locker
Level 13 – Norrington’s Choice
Level 14 – The Brethren Court
Level 15 – The Maelstrom
Level 16 – London Town
Level 17 – Queen Anne’s Revenge
Level 18 – White Cap Bay
Level 19 – A Spanish Legacy
Level 20 – The Fountain of Youth
This guide will show you how to achieve 100% completion on LEGO Pirates of the Caribbean.
Each level of in LEGO Pirates requires you to complete the following:
- Find TEN Minikits
- Find EIGHT Compass Points
Please support our YouTube channel by subscribing and liking this video. We aim to provide easy to follow guides and any feedback is welcome.
Minikits
Minikit #1 (00:27):
Near the start of the level, once you break away the roots that allow you to climb the wall, head right and the top and follow the path to a silver-bricked pile of rocks to destroy. Once destroyed, head through the tunnel to the minikit.
Minikit #2 (01:38):
Back at the wall climbing section, follow the path left across the bridge and keep going left until you reach a silver-brick pile of rocks. Destroy them and head down the path. If you’ve activated Compass Point #2 then you’ll have access to the spinning puzzle. Complete that for the minikit.
Minikit #3 (03:26):
Once you reach to top where the huts are, use Compass Point #4 to find the telescope and then use it to get the minikit.
Minikit #4 (03:45):
After activating Compass Point #3 there will be a chicken cooking over the fire. Use Blackbeard to destroy it for the minikit.
Minikit #5 (04:00):
Rolling back down the hill, about halfway down is a big red door in the side of the hill. Open it with Blackbeard and walk through the revealed path for the minikit.
Minikit #6 (05:11):
About halfway down the hill you roll down after the huts is a section with spikes. Near here is a large strong handle on the wall, pull it. This will reveal a bridge to a new area. Unlock Compass Point #5 to reveal a telescope that you can use for the minikit. Focus on the crab and it will get you the minikit.
Minikit #7 (05:26):
In the same area, there a climbable tree at the back. The minikit is at the top.
Minikit #8 (06:03):
Further down the hill, there is a grapple hook that can be used by Jack to reach another new area. Grapple over and use Compass Point #6 to find the minikit.
Minikit #9 (06:17):
In the same area, light one of the canons and shoot all of the targets for the minikit.
Minikit #10 (07:20):
In the final section, jump into the water with a character that can walk at the bottom. You’ll see a crab in a cage, destroy the crab and ride it to reveal the minikit.
Compass Points
Compass Point #1 (00:27):
See Minikit #1 for details.
Compass Point #2 (00:56):
Back at the wall climbing section, follow the path left across the bridge and keep going left until you reach a silver-brick pile of rocks. Destroy them and head down the path.
Compass Point #3 (02:14):
After the last point, head back to the main route and up to the top where the huts are. Use the compass here for reveal a chicken over the fire.
Compass Point #4 (03:01):
Up by the huts again, activate the compass for the telescope. It’s around the back of the huts.
Compass Point #5 (04:20):
About halfway down the hill you roll down after the huts is a section with spikes. Near here is a large strong handle on the wall, pull it. This will reveal a bridge to a new area. Follow the path to reveal another telescope.
Compass Point #6 (05:35):
Further down the hill, there is a grapple hook that can be used by Jack to reach another new area. Grapple over and use the compass here to locate the next item.
Compass Point #7 (06:58):
In the final section by the river, activate the compass to find the bone nearby.
Compass Point #8 (07:06):
Part of the story – can’t be missed.


