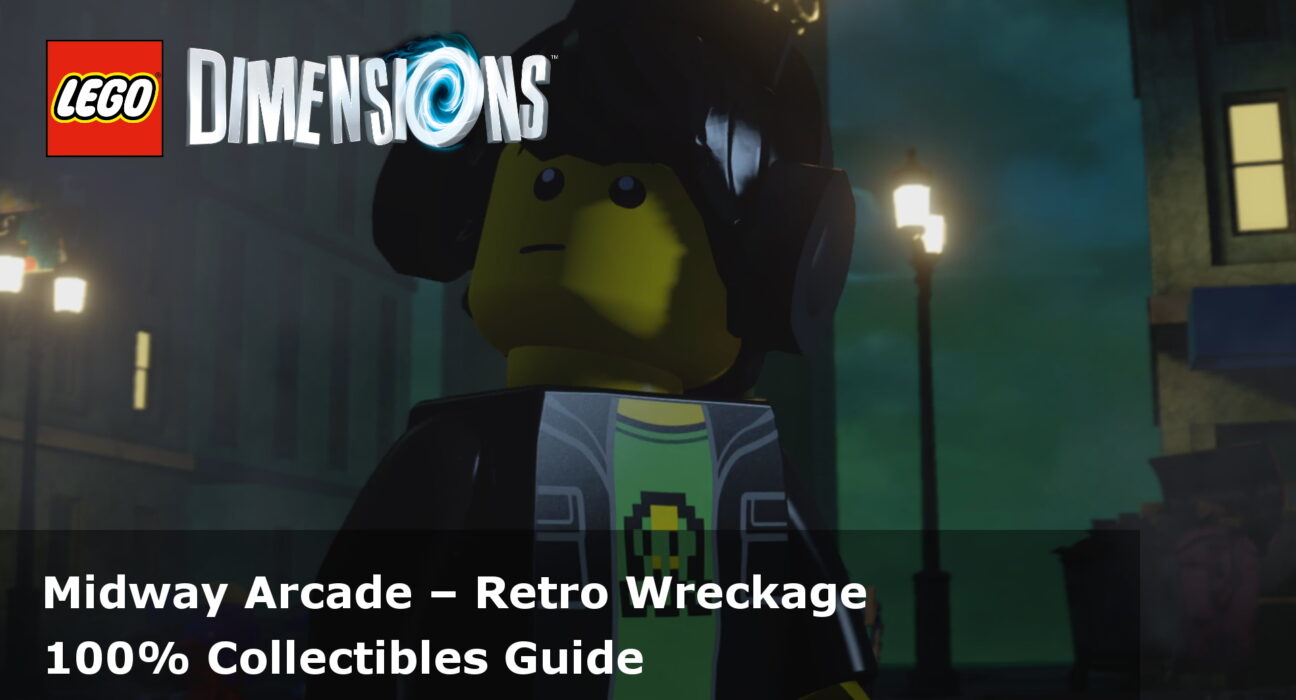
This guide will show you how to achieve 100% completion on the LEGO Dimensions – Midway Arcade Level Pack, Retro Wreckage.
This guide will show you how to achieve 100% completion on LEGO Dimensions.
Each level of the game requires you to complete the following:
- Find TEN Minikits
- Character to Rescue
Please support our YouTube channel by subscribing and liking this video. We aim to provide easy to follow guides and any feedback is welcome.
Minikit #1 (00:34):
As soon as you start the level, head to the right wall and use the grappling hook to pull down some loose bricks which can be rebuilt into the minikit.
Minikit #2 (00:55):
After the first retro game is complete, head in the room to the left once the door opens. In the next room, use the x-ray point to complete the circuit puzzle and then pull the lever. A crane will drop a large ball, destroy it for the minikit.
Minikit #3 (01:54):
On the roof, head to the left and shatter the glass windows so that you can jump in the room at the back. The minikit is inside.
Minikit #4 (02:17):
Also on the roof, there are three golden satellite dishes. Destroy all three for the minikit.
Minikit #5 (02:35):
From the window you shattered for Minikit #3 head forward and jump down to a lower ledge. Use a drone to enter the tunnel and activate the switch for the minikit.
Minikit #6 (03:08):
Using a flying vehicle fly up to the top right and connect and power-up the yellow floating dock. A tornado will appear, jump in it to enter a new area designed around the retro game, Paperboy. Go to the second house on the left and use magic on the green dumpster to reveal a portal keystone. Activate it and go through the pink portal to push the block off the edge. Then go through the yellow portal and destroy the satellite disk on the roof. Jump down and build the loose bricks. Then head through the blue portal and activate the lever. The garage door will open with the minikit inside.
Minikit #7 (05:15):
Head up the road and destroy the large golden lock to reveal and turn valve, activate it. Two turrets will appear from the road. Jump in one and destroy the horde for the minikit.
Minikit #8 (06:09):
There are three papers to collect and post for the minikit.
- The house to the left of the turrets, scan the indicated area to reveal a way up to the attic. Use magic on the large box to drop some loose bricks that can be built into a gramophone. Destroy the enemies for the paper post it in one of the red mailboxes.
- Head back to the starting point and destroy the dog house in front of the house with the golden garage door. Build the loose bricks into a ramp and drive over it for the paper.
- Up to the top end of the road, destroy the cracked wall on the caravan and kill the enemy for the paper.
Minikit #9 (08:31):
To the left of the turrents, there is a house with lights all around it. Destroy the boxes around the outside and build the loose bricks into the missing lights. Next, use the vehicle treadmill outside the house’s garage. This will reveal a circuit to repair, repair it for the minikit.
Minikit #10 (09:36):
Up the road, destroy the red car in front of the crashing micro-manager and build the pieces into a power dock. Using a flying vehicle with grapple, head to the far left to find the power core next to a bench. Fly it back over and drop it in the dock, this will open the micro-manager. Use stealth to get passed the camera and activate the button for the minikit.
Character to Rescue: Lumberjack (10:50):
Head back to turrets and then left up the side road. The Lumberjack is under a tree. Dig up all of the dig spots and build the loose pieces into a spring-loaded awe. Hit it to release the Lumberjack.
