

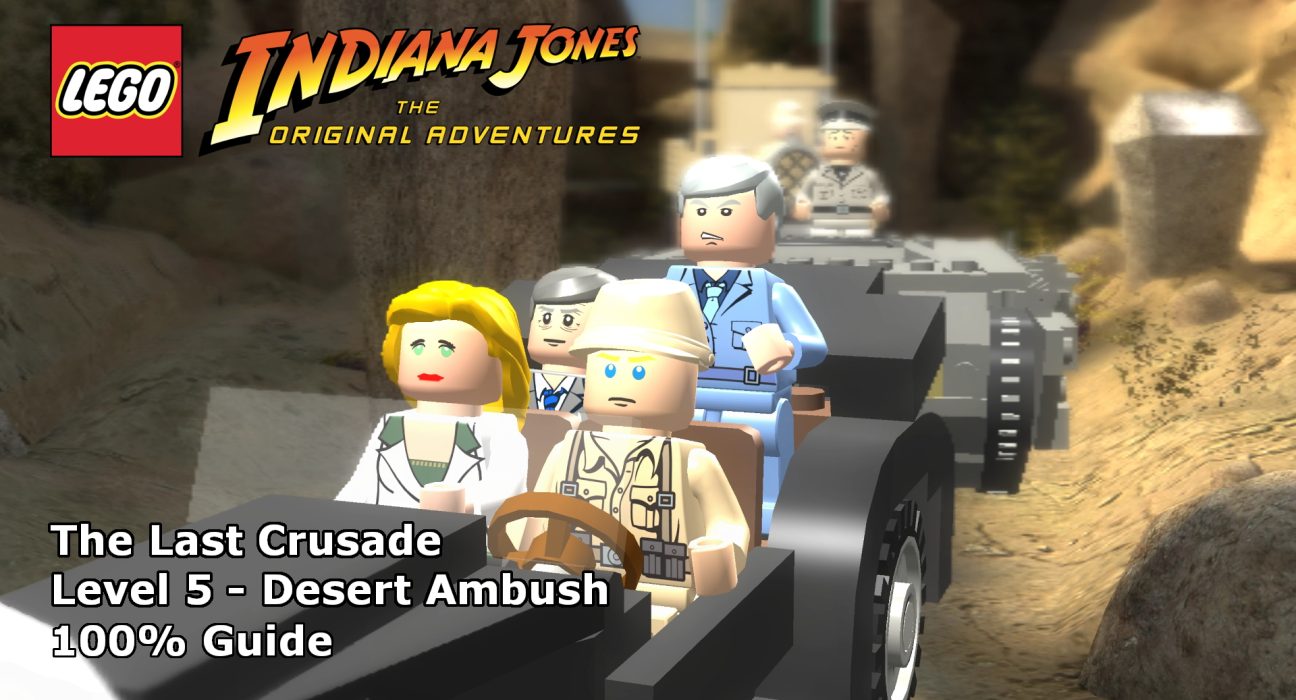
This guide will show you how to achieve 100% completion on the LEGO Indiana Jones: The Original Adventure, The Last Crusade – level 5, Desert Ambush.
This guide will show you how to achieve 100% completion on LEGO Indiana Jones: The Original Adventures.
Each level of the game requires you to complete the following:
- Find TEN Treasures
- A Parcel (Red Brick)
In addition, some level have characters to find, and when required, these will be noted as well.
Please support our YouTube channel by subscribing and liking this video. We aim to provide easy to follow guides and any feedback is welcome.
Treasure #1 (00:23):
At the start of the level, head up the ledge to the left. The treasure is at the top.
Star Wars Character – R2-D2 (00:38):
To the left of the previous treasure, use the Indy grappling point and R2 will appear.
Treasure #2 (00:51):
To the right, back on ground level, there’s a cave entrance blocked by a couple of planks. Destroy the planks and head in. Inside, pick up the head to the left of the entrance and take it to the statue on the right. Complete the statue and the treasure will appear.
Treasure #3 (01:11):
Next to the head, there is a dig point. Dig up the key and take it up to the top of via the elevator. There’s a cog lever up there which will release a rope point that Indy can use to swing over to get the treasure.
Treasure #4 (01:50):
Back outside, there are three silver bricked pillars to find and destroy for the treasure.
- Off to the right, there is a dig point. Dig up the pillar.
- In between the two trucks on the left.
- Destroy the silver objects to the left of the cave entrance and build the pillar.
Treasure #5 (02:21):
To the right of the cave entrance is a wall puzzle, complete it and head through the hole in the wall that appears. Destroy the silver blockage and continue down the path. Activate the statue to release loose bricks that can be used to complete the push path. Finally push the statue to the back for the treasure.
Treasure #6 (03:38):
In the tank section, build the ladder on the left and head up to the ledge above. Destroy the silver-bricked objects up there and build them into a oil drill. Wait for it to strike oil and the treasure will appear.
Parcel (Red Brick) – Treasure x10 (04:17):
Before you push the block off the edge, use it to reach the handrail and get to the higher ledge with the parcel on it. The post box is in a dig point at group level on the left.
Treasure #7 (04:40):
On the right, climb up to the top of the track and dig up the pieces needed to rebuild the minecart. Next, push the minecart down the hill and it will roll into the wall and reveal the treasure.
Treasure #8 (05:20):
To the left of the previous treasure, destroy the two silver-bricked air canisters and build the pieces into a water-sprinkler which will grow plants around it before revealing the treasure.
Treasure #9 (05:36):
In the next section, destroy the barrels in front of a crawl hatch, easy to spot. Head through the crawl hatch for the treasure.
Treasure #10 (05:53):
On the left of this area, near the entrance, there’s a silver-bricked block. Destroy it and grab the key. Next, jump on a horse and use the extra high jump off to reach the ledge at the back. Place the key in the cog machine to raise the scissor lift and then head up for the treasure.


