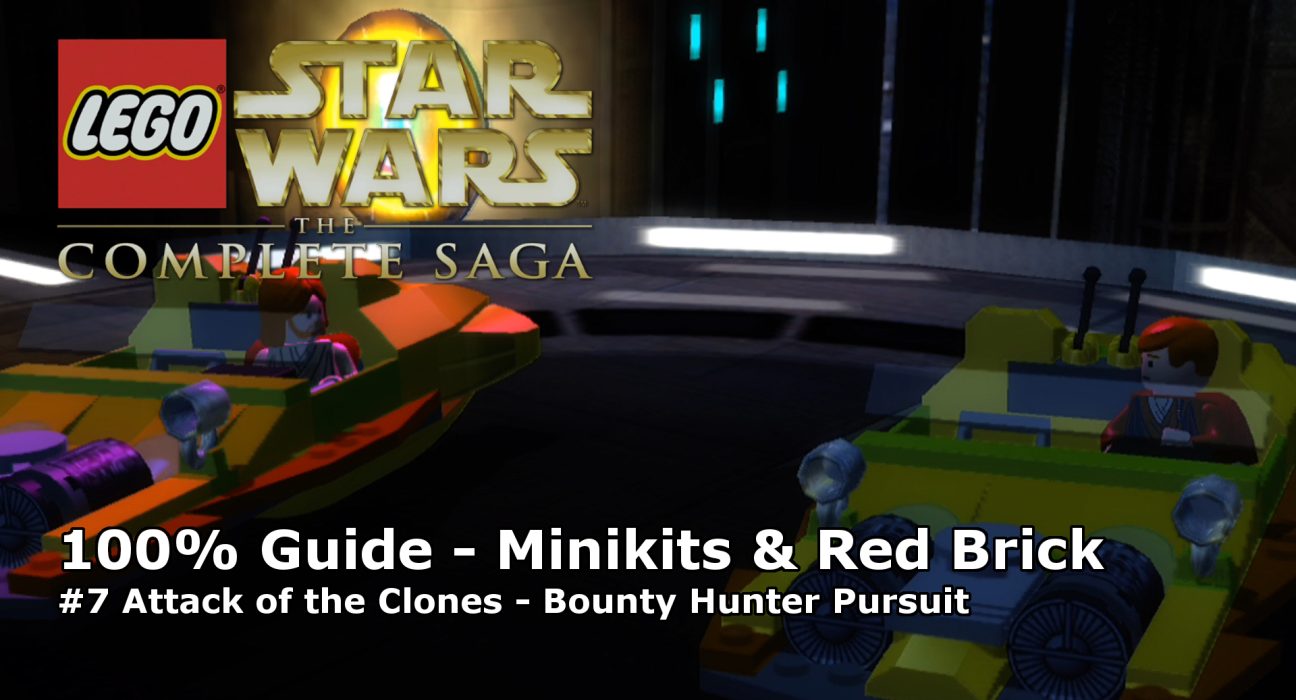
This guide will show you how to achieve 100% completion on the LEGO Star Wars: The Complete Saga level 7, Bounty Hunter Pursuit.
The video will show you what is required to 100% the level with additional detail below for each part. All LEGO Star Wars: The Complete Saga levels require you to find ten minikits and a red brick in order to 100%.
This guide will show you how to achieve 100% completion on LEGO Star Wars: The Complete Saga
Each level of in LEGO Star Wars: TCS requires you to complete the following:
- Find TEN Minikits
- Red Brick
Please support our YouTube channel by subscribing and liking this video. We aim to provide easy to follow guides and any feedback is welcome.
Minikits and Red Brick
Minikit #1 (00:25, 00:57, 01:45, 01:59, 02:43, 03:54):
There are ten light columns to destroy throughout the level. You’re essentially looking for blue and green floating columns, most of which are on the edges of the playable area. Check the video above for the specific locations.
Minikit #2 (00:38, 00:50, 01:05, 01:49):
There are five small turrets to destroy through the couple of the sections of the level. They’re found on the side of the builds and easy to spot following the story path. Check the video above for the specific locations.
Minikit #3 (00:41):
Towards the end of the first section, there is a large TIE gate you can open as a TIE fighter. The gate is large, grey, with red triangles on it and a circular scren below. Simply fly up to it as a TIE fighter and the door will open, revealing the minikit.
Minikit #4 (01:10):
There are five silver-bricked blue spires on top of the large skyscraper that appears to branch the flight path. You can actually fly all of the way around it. Use the missiles to target the spires on the roof for the minikit.
Minikit #5 (02:09):
Before you enter the tunnel at the end of the first section, there’s a silver-bricked traffic light. Shoot it to change the side lights to green. Off to the left, a small flying vehicle will come into view trailing a green banner-like item. Shoot it for the minikit.
Minikit #6 (02:28):
Find and shoot all the red squares on the floor, which will raise up a canister.
Red Brick – Stud Magnet (02:55):
After the first force field area, make a hard right. To the left of the Imperial gate are several pylons with green lights on top. Shoot all of these before any of the lights shut back off and a balloon will appear with the Red Brick on it.
Minikit #7 (03:18, 03:34, 03:52):
There are five small turrets to destroy through the couple of the sections of the level. They’re found on the side of the builds and easy to spot following the story path. Check the video above for the specific locations.
Minikit #8 (03:25):
After the first force field area, make a hard right. You’ll find another TIE Gate, with the minikit behind it. Same process as Minikit #3.
Minikit #9 (03:40):
As you head through the second area, you’ll see three triangle traffic signs, near a circle building. Shoot all three in quick succession for the minikit.
Minikit #10 (04:16):
In the second force-field area, shoot all the red squares to raise up the canister.
