

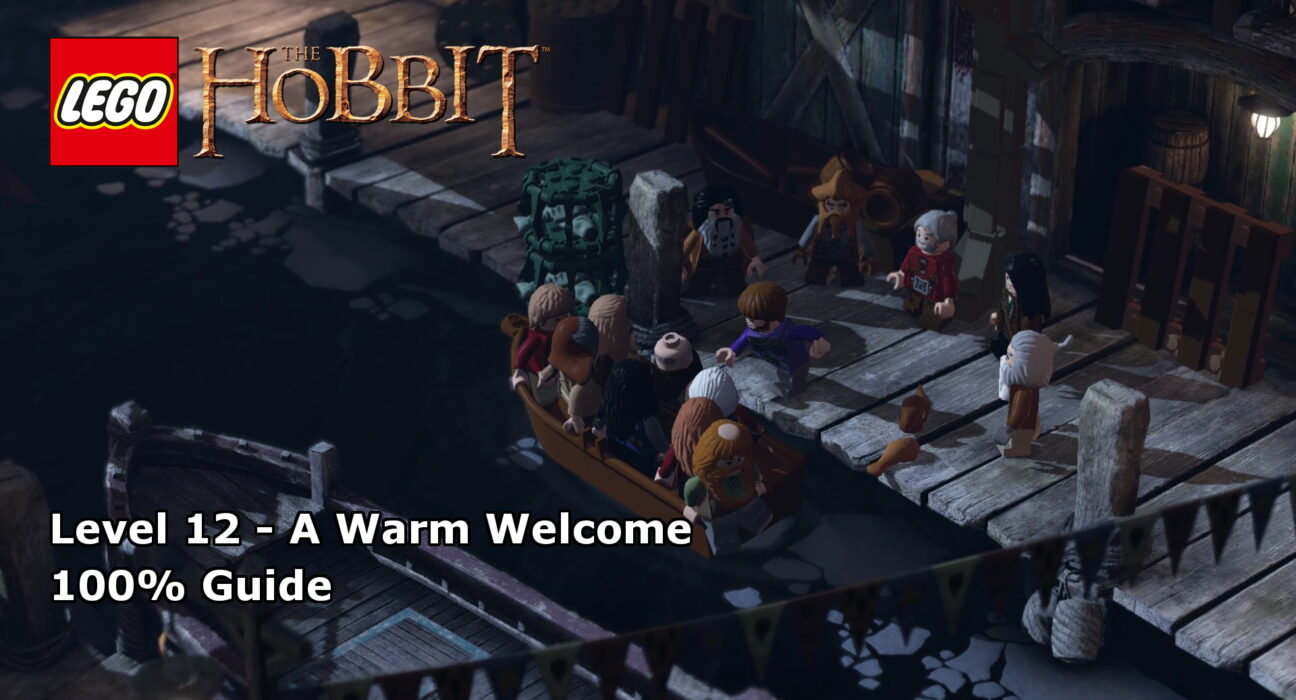
This guide will show you how to achieve 100% completion on LEGO The Hobbit Level 12 – A Warm Welcome.
The video will show you what is required to 100% the level with additional detail below for each part. Each level of the core story requires you to collect the following:
- Ten Minikits
- Four Treasures
- A blacksmith design
Please support our YouTube channel by subscribing and liking this video. We aim to provide easy to follow guides and any feedback is welcome.

Minikit #1 (00:18):
At the start of the level, head right and destroy the silver-bricked crane you’ll see. Rebuild the left over bricks into a fishing point for the minikit.
Minikit #2 (00:56):
Head back left, but before you jump into the next section, shoot the target over to your left. This should provide a pathway for you to jump over and retrieve the minikit.
Minikit #3 (01:09):
There are four sparring dummies to destroy for the minikit. Two of them are right when you begin the level. The other two are at the opposite end of the room in a cage locked by a blue grate that a wizard can destroy.
Minikit #4 (01:34):
Right next to the sparring dummies in the wizard locked cage is a minikit.
Minikit #5 (02:14):
Once you’ve collected all the weapons and you’re outside. There are five crab traps to destroy for the minikit.
- To your immediate left at the start.
- On your right as you follow the story path – can’t miss it.
- Under the building you’ll prop up a ladder to as part of the story.
- On the right of the boat.
- On the far right of the area, just follow the path round.
Minikit #6 (02:42):
Under the building that you put the ladder up against, there is a wizard object. Shoot it for the minikit.
Minikit #7 (03:12):
After you’ve opened the second animal pen, the one with the sheep, go inside and to the left for the minikit.
Minikit #8 (03:19):
In the next section of the level, as soon as you begin head to the left to find a crawl hatch. Head through for the minikit.
Minikit #9 (04:05):
After you’ve made it across the rooftops and back down to the ground-level, use a goblin to crawl along the outside wall and up to the minikit.
Minikit #10 (04:16):
Just before you pull down the sails of the boat to head to the final fight, there is a random boat in the water with a catapult target. Shoot it until the boat sinks and you get the minikit.
Treasure #1 – Sir Moustaff (01:38):
In the second area where you collect the weapons, on the far right at ground level is a silver-bricked cage. The treasure is in there.
Treasure #2 – Singing Fish Blade (02:03):
In the section with the animal pens, at the very beginning on the far left is a barrel with a grappling hook on it. Pull it open for the treasure.
Treasure #3 – Duck Cap (02:50):
Between animal pens two and three, there is a fire point. Set it ablaze for the treasure.
Treasure #4 – Loot Rod (03:29):
During the section where you’re balancing on the ropes across the rooftops, shoot the owl. It will move, shoot it at the next spot, it will move. One final shot will get you the treasure.
Blacksmith Design – Mithril Booty Blade (01:47):
In the second area where you collect the weapons, on the top level off to the right of the ladder, there is an elf jump point which allows you to climb up and grab the instructions.
Keep up to date with all the latest from Life In Brick’s videos by heading over to our YouTube Channel and subscribing.


