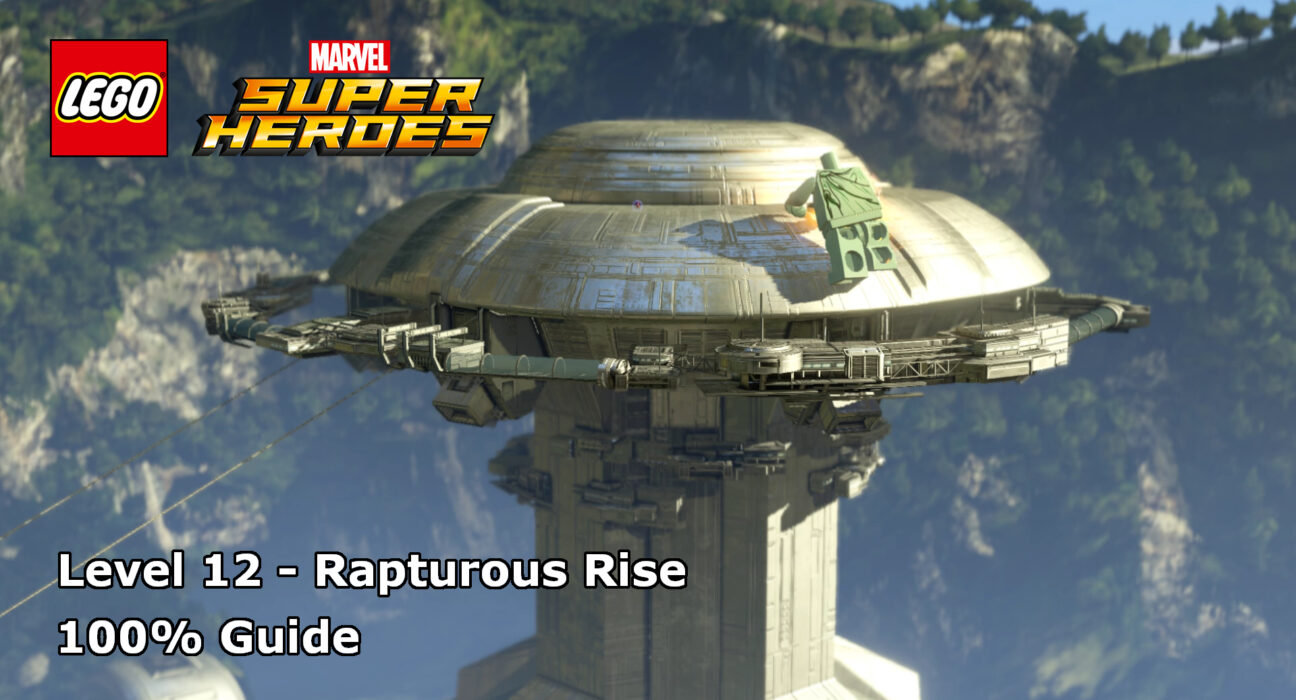
This guide will show you how to achieve 100% completion on LEGO Marvel Super Heroes Level 12, Rapturous Rise.
The video will show you what is required to 100% the level with additional detail below for each part. Each level of the core story requires you to collect the following:
- Ten Minikits
- Stan Lee in Peril
Please support our YouTube channel by subscribing and liking this video. We aim to provide easy to follow guides and any feedback is welcome.
Stan Lee In Peril(02:32)
At the airplane crash site, to the left of the exit from the area, Stan can be found surrounded by flames. Simply put out the fire to save him from peril.
Minikit #1 (00:17)
At the very start of the level, right next to you and off to the left, there are three dig spots. Dig up the bricks from all three dig spots and then build them into a crab who will scuttle away leaving a minikit behind.
Minikit #2 (01:01)
The second minikit can be found just behind the first. There is a golden totem to destroy. This will reveal a wall which Wolverine can bring down. The left over bricks can be built into a Sandman point who will turn into a palm tree and release the minikit.
Minikit #3 (01:42)
At the point where you’ve crossed through the first barrier (once Cap has taken it down), head to the back to find a truck in a tree with a Spidey-sense point in front. Use Spidey to reveal a grappling hook which can be used to pull down the truck and grab the minikit.
Minikit #4 (01:52)
At the end of the first section of the level, there are some strong-pull handles which block the exit following the story path. Directly under here, there is a golden wall to cut through for the minikit.
Minikit #5 (02:22)
At the airplane crash site, the back end of the plane has a silver-bricked wall. Destroy it, put out the fire and head in for the minikit.
Minikit #6 (02:04, 02:43)
There are five golden eggs to destroy for this minikit. Destroy all five and the minikit will appear.
- To the left of the first checkpoint.
- At the back up on the higher level as you enter the plane crash site.
- To the right of the crash site exit.
- To the right of the strong pull handles after the bridge.
- Just behind the electric gate before the next section.
Minikit #7(02:54)
There are four (not five as the video suggests) pieces of red luggage to destroy for the minikit. In the video above, they’re shown in reverse order due to how the level of recorded, however, in the order you’ll see them:
- At the front on the lower level as you enter the plane crash site.
- At the back of the back.
- On a ledge just to the left of the plane crash site exit.
- On the ledge of the right, just before the end of this section of the level.
Minikit #8(03:41)
Once you’ve crossed the bridge, pulled the wall away, and taken down the electric gate, to the left there is a large bush on the wall which can be controlled with magic/telekinesis. Build the parts remaining into a grate which you can head through for the minikit.
Minikit #9(04:01)
At the start of the final section of the level, there is a magnetic statue up here, just above the first generator to power up. Pull it down with Magneto for the minikit.
Minikit #10(04:07)
There are five pumpkins to dig up and destroy in the final section of the level. Destroy all five for the minikit.
- To the left of the first powered gate to open.
- To the right of the first powered gate to open.
- To the right of the laser repel Captain America point.
- In the final area (where you face Rhina), just off to the right at the entrance.
- At the far back left of the final area.
Thank you for using this guide, I hope you found it useful. Please do subscribe to the YouTube Channel to ensure you keep up to date with the latest reviews, let’s plays and guide videos.
