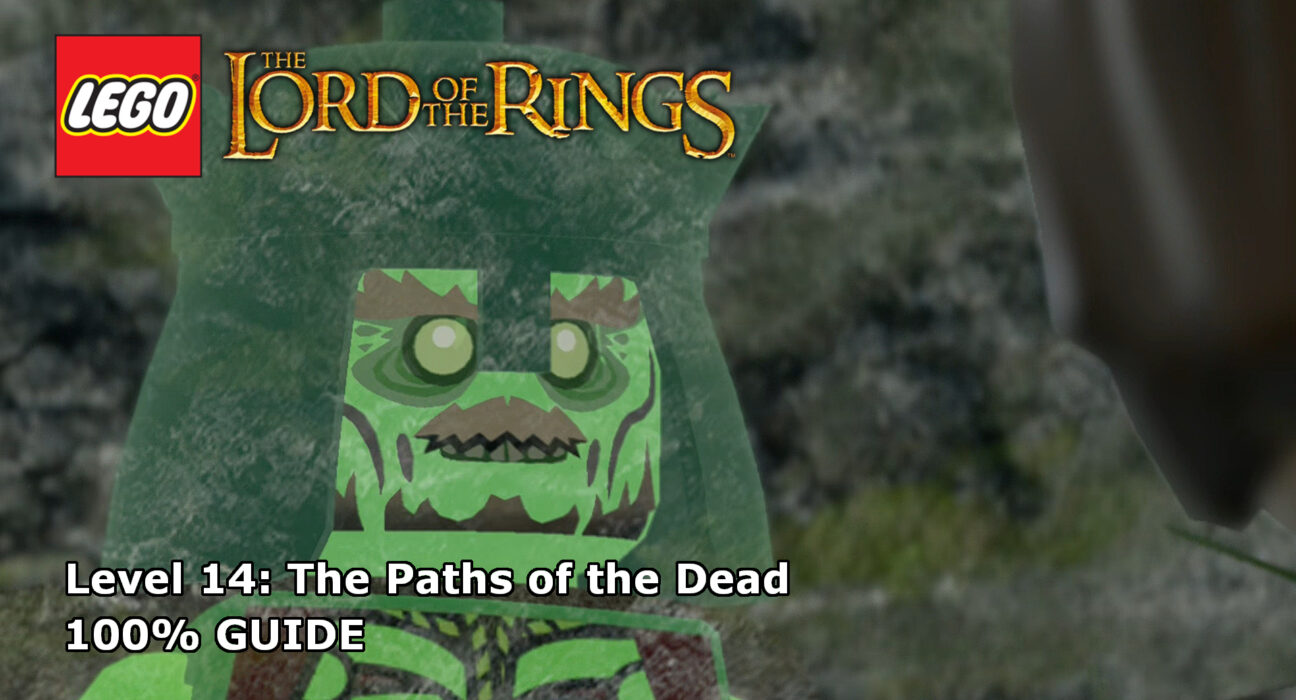
This guide will show you how to achieve 100% completion on LEGO Lord of the Rings Level 14 – The Paths of the Dead.
The video will show you what is required to 100% the level with additional detail below for each part. Each level of the core story requires you to collect the following:
- Ten Minikits
- Three Treasures
- A blacksmith design
Please support our YouTube channel by subscribing and liking this video. We aim to provide easy to follow guides and any feedback is welcome.
Minikit #1 (00:28):
As you follow the story path, down the first tunnel, there are two sections of the wall, one of either side that can be broken. Inside they have parts of a minikit. Destroy both and build the minikit.
Minikit #2 (01:43):
At the point where you’ve climbed up the path to axe the archway and unblock the story route, there is a dark cave next to the axe point. Send a character who can light up the dark in to retrieve the minikit.
Minikit #3 (02:15):
In the first large open area, on the right there is a morgul rock to destroy. This will release a chain, dropping the minikit to the ground.
Minikit #4 (02:01, 02:41):
You need to place a flower on a stand for this minikit. Firstly you need the pieces for the flower. In the tunnel between the first and second large open areas there is what looks like a pot on a golden rail. Hit it to reveal a rope pull point. Use that for the first part of this minikit. In the next large open area, head up to the high platform on the left to a strong pull handle and use it, this is the stand, but you still need one more piece. On the ground level, again on the left there is another pot with a rope point. Grab the second piece, put them together and then return to the stand for the minikit.
Minikit #5 (03:14):
In the same area as the previous minikit, on the right side, there is a target up high. Shoot it to release a rope that an elf can reach and climb up for the minikit.
Minikit #6 (03:26):
When you reach the section with the large gate, head around behind the platform on the right for the minikit.
Minikit #7 (00:19, 00:41, 01:34, 02:27, 03:31):
There are five dig spots along the story path, one in each section. The final one is just in front of the large gate. Dig up all five for the minikit.
Minikit #8 (03:42):
On the left hand side of the section with the gate, there is a silver-bricked rock. Destroy this and another rock will shoot across the room revealing a minikit. Next, climb up to the top level on the right and use Gollum to retrieve the minikit.
Minikit #9 (04:09):
Also on the right up high, there is a fire point for Sam to use. This will reveal the coloured steps that you need to build to retrieve the minikit.
Minikit #10 (04:58):
In the final battle area, there are three targets, on the walls, shoot them all for the minikit.
Treasure #1 – Skeleton Key (00:54):
In the section where you need to climb up to a higher level to axe the archway as part of the story path, on the left, there is a dig spot hidden in the mist. The treasure is inside.
Treasure #2 – Calcium Armor (01:11):
In the same section as the previous treasure, heads down the path on the right and destroy the silver-bricked object on the wall to release the treasure.
Treasure #3 – Golden Axe (01:51):
From the previous treasure, further down the path in the next tunnel, there is a strong pull handle on the right. Use this for the treasure.
Blacksmith Design (04:49):
On the left of the section with the large gate, up high, the design can be seen. Climb up with an elf for the design.
Keep up to date with all the latest from Life In Brick’s videos by heading over to our YouTube Channel and subscribing.
