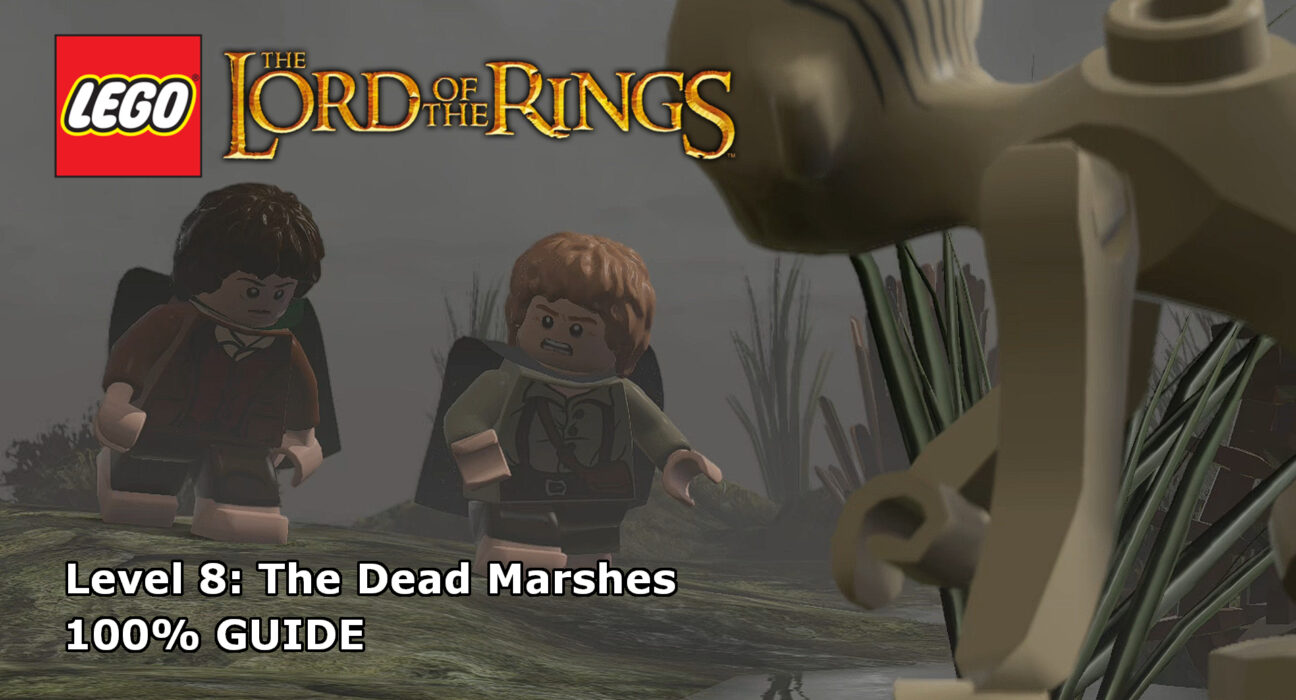
This guide will show you how to achieve 100% completion on LEGO Lord of the Rings Level 8 – The Dead Marshes.
The video will show you what is required to 100% the level with additional detail below for each part. Each level of the core story requires you to collect the following:
- Ten Minikits
- Three Treasures
- A blacksmith design
Please support our YouTube channel by subscribing and liking this video. We aim to provide easy to follow guides and any feedback is welcome.
Minikit #1 (00:19):
At the start of the level, head to the front of the screen to find an axe point. Use Gimli to destroy it and build a fishing point so that you can get a fish. Off to the left at the back, you should see a fish and plate on a pole, this is your target. Throw the fish at this for the minikit.
Minikit #2 (01:44):
Further through the story path, reach the point where there is two planks leading to a floating skeleton. To the front and right of that point, there is a plant trail to follow on the water. At the end of this trail is a rope pull point to use for the minikit.
Minikit #3 (02:16):
At the point in the story with the tree with the rope point on it, head left of the tree before the swing to find a strong pull handle. Use the handle to release a crocodile who will head to it’s nest and reveal the minikit.
Minikit #4 (01:17, 02:02, 02:51):
There are five axe point alone the waterline of the story path, all fairly easy to spot. Hit all five for the minikit.
Minikit #5 (03:07):
Further along the story path, you’ll reach a water point you need to fill by pulling down a large tree stump. To the left of it is a morgul store to destroy. Once you destroy it a ghost and a bone boat will appear, kicking off a fetch mission. Collect the bones and the ghost will provide you with the minikit.
Minikit #6 (05:06):
Continuing along the story path and you’ll reach a tree with another rope pull point on it, over to the left in the back distance you’ll see a tree with a target on it. Hit the target and it’ll fall down revealing the minikit.
Minikit #7 (05:29):
Once you’re at the point where the flying bad guy is trying to take you out, follow the story path until you see a target in the background on the side of a tree. Shoot it and this will kick off a gallery shooting game in the water nearby. Shoot all the targets for the minikit.
Minikit #8 (07:06):
Near the end of the marshes, where you have to grow a plant to get up to the higher platform, there is a bush covering a strong pull handle. Pull it open for a pathway to the minikit.
Minikit #9 (07:32):
As soon as you begin the battle section of the level, head left to find a dig point. Use it for the minikit.
Minikit #10 (07:43):
There are five targets around the battle section of the level to shoot. Two on the left, two on the right and one at the back. Shoot all five for the minikit.
Treasure #1 – Bucket (Unlocked in Story) (01:34):
The bucket is required for the story and so unlocked as part of your initial adventure.
Treasure #2 – Fancy Umbrella (04:46):
During the section of the level where the flying bad guy trying to get you, one of the hiding islands has a tree with a target on it. Shoot the target for the treasure.
Treasure #3 – Toy Snake (06:22):
Near the end of the marshes, before you climb up to the upper platform, you’ll see a silver-bricked barrel on the right. Destroy it for the treasure.
Blacksmith Design (06:35):
Near the end of the marshes, before you climb up to the upper platform, there is a fishing point on the far right. Use it for the treasure.
Keep up to date with all the latest from Life In Brick’s videos by heading over to our YouTube Channel and subscribing.
