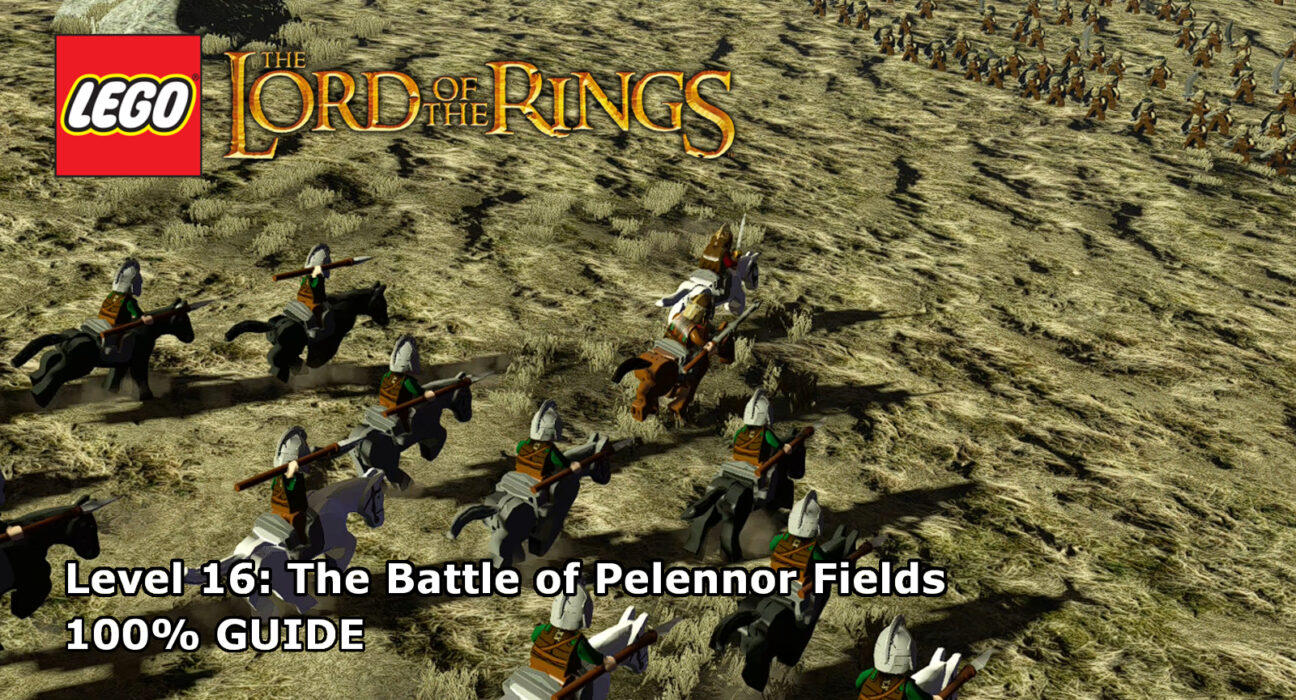
This guide will show you how to achieve 100% completion on LEGO Lord of the Rings Level 16 – The Battle of Pelennor Fields.
The video will show you what is required to 100% the level with additional detail below for each part. Each level of the core story requires you to collect the following:
- Ten Minikits
- Three Treasures
- A blacksmith design
Please support our YouTube channel by subscribing and liking this video. We aim to provide easy to follow guides and any feedback is welcome.
Minikit #1 (00:34):
As you’re riding through the battle, you’ll see a ramp on your path. Head up it for the minikit.
Minikit #2 (00:19, 00:38):
There are three crates to destroy along the horse riding path. Hit all three for the minikit. Probably best just to destroy as much in your path as possible and you should get this one by accident.
Minikit #3 (00:43):
After the ramp, during the horse riding section, you’ll see two large rocks. Ride straight through them and you should get the minikit.
Minikit #4 (01:14):
Once you’re up against the dragon, head to the back left and destroy all of the rubble. You’ll be able to build it into a mechanism to life the horse back to its feet and the minikit will appear.
Minikit #5 (01:31):
Once the rider is on the ground attack you, you need to construct a first aid kit for one of the injured soldiers. Firstly, to the left of the dragon there is a dig spot, you it. Next, on the far right, by the cart, there is another dig spot, use it. There’s a third dig spot not far from the last one on the right. Once you’ve dug up the contents of these three dig spots you should be able to construct a first aid kit. Next, use the strong pull handle on the back of the cart to move it out of the way and finally, head to the soldier by the cart and give it to him for the minikit.
Minikit #6 (02:28):
While the rider is attacking you, head to the far front left to find an axe point. Destroy it for the minikit.
Minikit #7 (03:11):
Once in the next section of the level, in the middle front there is a water point with a silver brick on it. Blow up the silver brick so that you can use it. Grab a bucket for the water and then use it to put out a fire all to the left, it’ll take two trips. Once the fire is out, destroy the crate for the minikit.
Minikit #8 (02:45, 03:06, 03:54):
This requires you to gather two items to construct crutches. The first, bandages, can be found at a dig spot, to the right of the water point. The next can be found by taking out all of the bad guys near the crate that was on fire from minikit #7. Once you’ve got both, head left and you’ll find some debris with some left sticking out of it and a fire lighting point. Use Sam to light the fire and release a soldier who needs crutches in exchange for the minikit.
Minikit #9 (04:20):
Just to the left of the save point statue, there is an axe point. Use it to save a trapped soldier and retrieve the minikit.
Minikit #10 (04:26):
Further to the right, there is another fire to put out, head back left to grab some water and then put the fire out for the minikit.
Treasure #1 – Glowing Shield (00:54):
Once you’re against the dragon after the horse riding section, on the debris on the left are targets to shoot. These will release the treasure.
Treasure #2 – Golden Carrot (02:33):
In the final section of the level, in the middle, in front of a silver bricked water point, is a dig spot. The treasure is in the dig spot.
Treasure #3 – Flower Hat (04:55):
The fire that you put out for minikit #10 also reveals this treasure on the ground.
Blacksmith Design ():
In the final section of the level, in the middle, to the right of treasure #2 is a silver bricked rock. Destroy it for the design.
Keep up to date with all the latest from Life In Brick’s videos by heading over to our YouTube Channel and subscribing.
