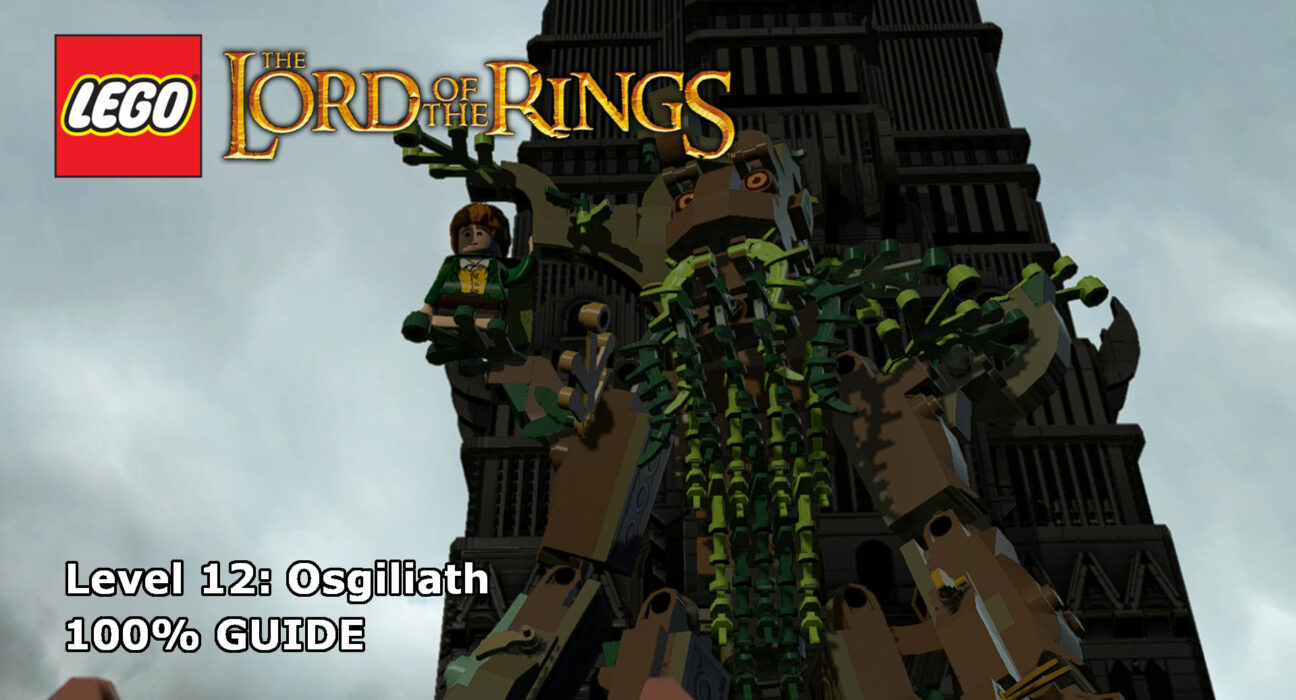
This guide will show you how to achieve 100% completion on LEGO Lord of the Rings Level 12 – Osgiliath.
The video will show you what is required to 100% the level with additional detail below for each part. Each level of the core story requires you to collect the following:
- Ten Minikits
- Three Treasures
- A blacksmith design
Please support our YouTube channel by subscribing and liking this video. We aim to provide easy to follow guides and any feedback is welcome.
Minikit #1 (00:57):
At the point where you’re climbing up the broken tower to retrieve the weapon, jump on the ledge to the left and head around the back for the minikit.
Minikit #2 (01:06):
At the top of the broken tower, the is an elf jump point which takes you up to the bell. The minikit is in the bell.
Minikit #3 (00:48, 01:22):
For this minikit you need to build a flag. The flag pole can be found on top of the structure directly after you jump over the first gap. There’s a wooden pole to help you jump up to retrieve it. The rest of the flag can be found on the ledge above the winding gollum wall. Once you’ve built the flag, give it to the soldier on that same ledge.
Minikit #4 (02:58):
In the section closer to the front of the screen, eventually you’ll reach a point with a broken wall. Jump over and behind the wall on the right for the minikit.
Minikit #5 (03:08):
To the right of the previous minikit, eventually you’ll reach the point where you build the ladder. Build it, climb up and then head left. There is another ledge with a silver-brick on it. Destroy that to bring down the wall so that an elf can jump over for the minikit.
Minikit #6 (04:16):
Once you’re playing as the Ents, head to the the front of the screen and then to the left to find a fire. Use the large water container nearby to put out the fire and retrieve the minikit.
Minikit #7 (03:31, 04:01, 04:33):
There are three points on the main tower to hit with rocks. Hit all three for the minikit.
Minikit #8 (04:50):
Similar to minikit #6, but this time at the far back right of the area.
Minikit #9 (03:25, 03:42, 04:44, 05:06 ):
There are five round mining pullies to destroy around the area. It’s difficult to describe their specific locations, just destroy everything you see and you’ll get this one.
Minikit #10 (05:20):
At the point where you’re throwing rocks at the dam, use a rock to hit the minecart off to the left. Keep hitting it until to falls to the ground with the minikit.
Treasure #1 – Goggles (00:19):
Right at the start of the level, switch to the character closest to the front of the screen. Head up the steps and to the left to find a silver-bricked pillar. Destroy the pillar and build the remaining bricks into steps to jump up to a higher platform for the treasure.
Treasure #2 – Bubble Pipe (01:51):
About half way through the route, after you crawl out of a hatch, jump down to the lower level to find a morgul gate. Destroy it and then jump down for the treasure.
Treasure #3 – Statue Hat (02:07):
Straight after the winding Gollum wall, there is an axe point which allows you to access a fruit-based puzzle below. Match the crates to the points they need to go for the treasure.
Blacksmith Design (01:16):
As you’re coming down the steps just before the Gollum wall, you’ll see an archway under the steps. Head in with a character who can light up the dark for the design.
Keep up to date with all the latest from Life In Brick’s videos by heading over to our YouTube Channel and subscribing.
