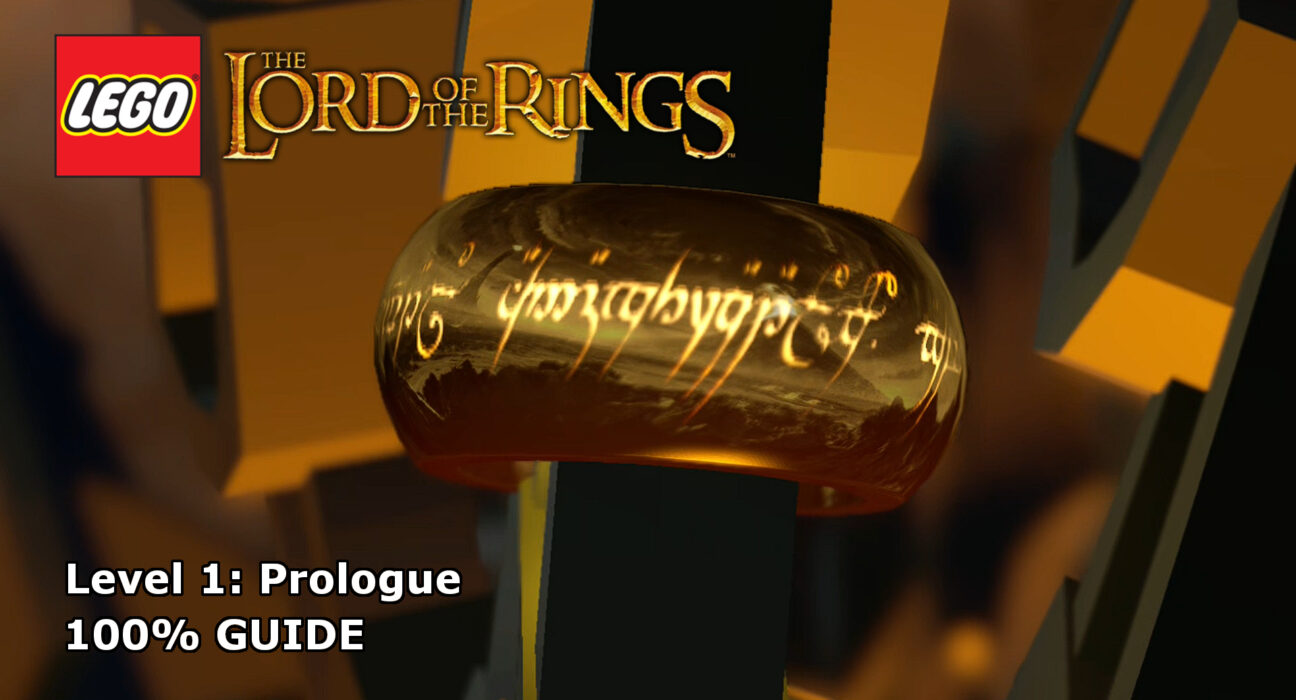
This guide will show you how to achieve 100% completion on LEGO Lord of the Rings Level 1 – Prologue.
The video will show you what is required to 100% the level with additional detail below for each part. Each level of the core story requires you to collect the following:
- Ten Minikits
- Three Treasures
- A blacksmith design
Please support our YouTube channel by subscribing and liking this video. We aim to provide easy to follow guides and any feedback is welcome.
Minikit #1 (00:18):
At the beginning of the level, to the north of your starting position, there is a dig spot. Dig up the minikit here.
Minikit #2 (00:28):
Also at the beginning of the level, at the back of the battle area, you’ll see three targets in the background. Shoot all three with arrows for the minikit.
Minikit #3 (01:24):
Once you reach to base of Mount Doom, you’ll see an axe point on the wall to the left of the save point. Throw Gimli at it and head into the secret cave. Work your way up the back wall in the cave and destroy the rocks at the top to release lava and the minikit.
Minikit #4 (03:15):
Back on the main story path, you’ll reach a point where there are two vent blasting out alternately. To the left of them is an axe point. Throw Gimli at it to destroy a rock which can be rebuilt into a barrier to block the left vent. Above the right vent is a target to shoot which releases a rock to block the other vent. Once both vents are blocked, the minikit will appear.
Minikit #5 (03:57):
Continuing on the main path and you’ll reach a point where you have to shimmy across a pole to cross a lava river. Below the hanging pole, you’ll see a platform with a rope pull point. Use it for the minikit.
Minikit #6 (04:19):
At the point on the main path where bad guys come blasting out of a cave, head in with a character who can light up the dark. The minikit is inside.
Minikit #7 (04:43):
After you use the elf jump point to reach the higher platform that you need to be at to push the rock over the edge, use Aragon (King armour), or similar to smash the morgul bricks behind the pushable rock for the minikit.
Minikit #8 (03:04, 04:11, 04:33, 05:03):
There are five statues of Sauron to destroy for the minikit.
- Inside the secret cave from minikit #3
- Next to the first lava river you need to cross on platforms, heading up the mountain
- Next to the elf jump near where you push the rock over the edge into lava
- To the left of the entrance to the mountain
- To the right of the entrance to the mountain
Minikit #9 (05:26):
To the left of the entrance to the mountain, there is a silver bricked rock. Destroy it to reveal a crawl hatch to head into for the minikit.
Minikit #10 (05:53):
Once inside the mountain, above you is a target to shoot for the minikit.
Treasure #1 – Elven Sword (00:44):
While on the battle field against Sauron, head to the back left to find a pile of silver bricks rocks. Destroy them for the treasure.
Treasure #2 – Magma Armor (01:08):
There is a dig point to your left, right at the base of the mountain path. Dig up the treasure.
Treasure #3 – Shimmering Armor (02:39):
Inside the secret cave from minikit #3, there is a strong pull handle on the far right for the treasure.
Blacksmith Design (02:56):
Inside the secret cave, next to treasure #3, there is a breakable wall with the design inside.
Keep up to date with all the latest from Life In Brick’s videos by heading over to our YouTube Channel and subscribing.
