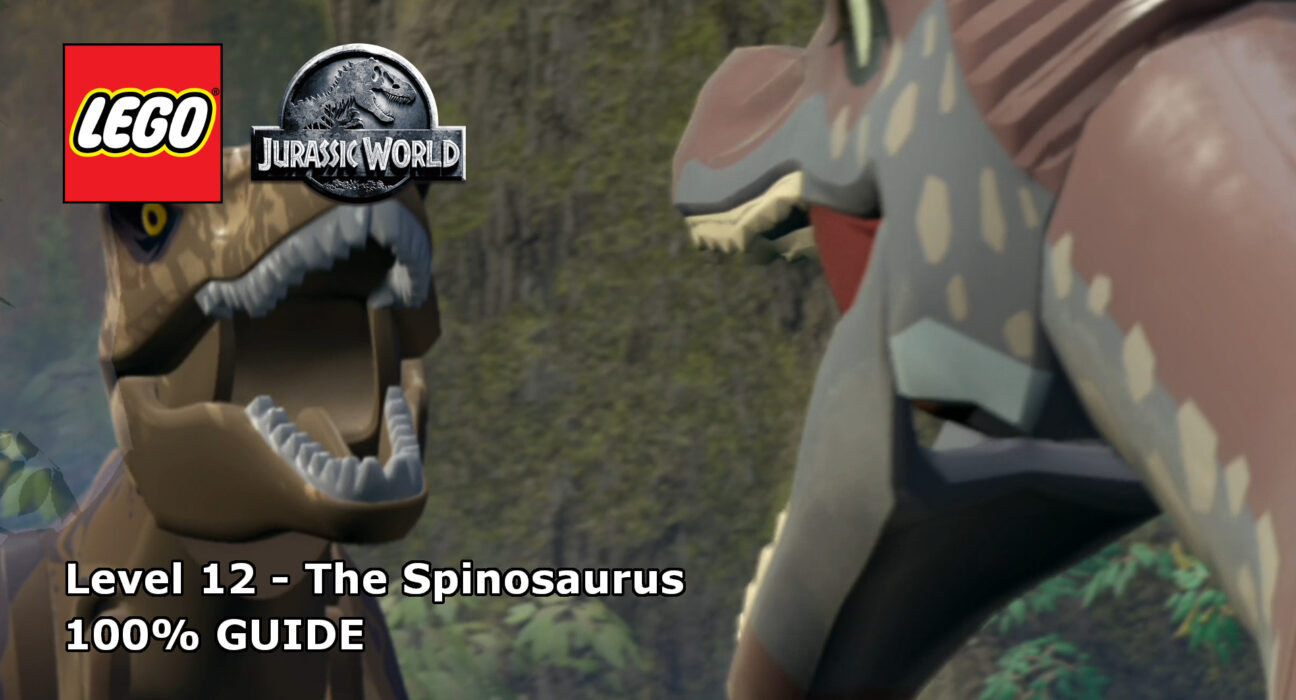
This guide will show you how to achieve 100% completion on LEGO Jurassic World Level 12, The Spinosaurus.
The video will show you what is required to 100% the level with additional detail below for each part. Each level of the four core movie story-lines requires you to collect the following:
- Ten Minikits
- Amber – For unlocking playable dinosaurs
Please support our YouTube channel by subscribing and liking this video. We aim to provide easy to follow guides and any feedback is welcome.
Amber – Baryonyx (03:50):
Once you reach the point where you need to create a bridge using the plane wing, you’ll find a poop pile. Using this will release bricks to build a raptor jumping point and retrieve the amber crystal.
Minikit #1 (00:16):
At the beginning of the level, the bottom middle will have a scent trail for you to follow for a minikit.
Minikit #2 (00:50):
After the first barrier to destroyed, break all of the Lego pieces around the tree stump and there will some for you to rebuild. Use Paul Kirby on the grapple point and jump in the tree to get the minikit.
Minikit #3 (01:21):
There are 3 eggplants to destroy and build dinosaur nests from in this area.
- In the starting area head to the far right corner, by the stream and destroy the plants and rocks, build the Lego bricks that appear.
- After walking up the ledge to the next area right when you get off the ramp there will be some Lego pieces towards the top of your screen to destroy and rebuild, it has some dinosaur eggs on it.
- After you get catapulted to the new area just to the left of the panel you have to spin is the last dinosaur eggplant for you to destroy.
Minikit #4 (01:58):
After you bend the tree back and smack the dinosaur with it, there is a cracked rock that you can use a dinosaur to open for a minikit.
Minikit #5 (02:10):
In the next area, once you get up to the top middle where you have to push part of the plane off, there is a grapple point above it that will give you a minikit.
Minikit #6 (02:24):
After you cut the luggage down from the tree head down the hole it fell through for a minikit.
Minikit #7 (03:02):
After you use the parachute for the first time fly across and above you will be an electricity target, shoot it for a minikit.
Minikit #8 (03:23, 04:26):
There are 3 targets to shoot in this area.
- When you arrive at the Crash site you will see two targets in the top left corner, the higher one is the one you need to shoot.
- Just above the second parachute point is the second target.
- The last target is in the area after you have to cut the vines, it’s just above the grapple point.
Minikit #9 (04:15):
After you create the bridge with the plane wing, in the middle of it is a photograph point, use Billy to take the picture and get a minikit.
Minikit #10 (04:48):
In the final area, in the far right corner will be a crawl hatch for you to go through. On the other side is the minikit.
Keep up to date with all the latest from Life In Brick’s videos by heading over to our YouTube Channel and subscribing.
