

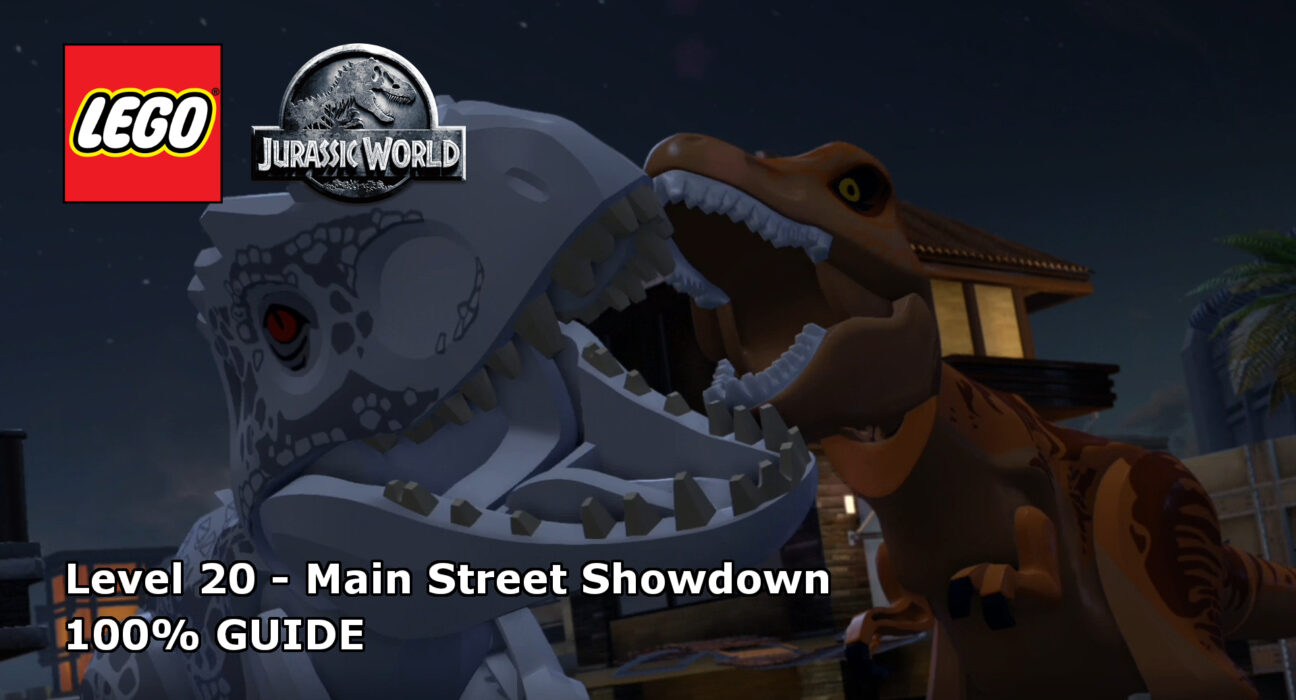
This guide will show you how to achieve 100% completion on LEGO Jurassic World Level 20, Main Street Showdown.
The video will show you what is required to 100% the level with additional detail below for each part. Each level of the four core movie story-lines requires you to collect the following:
- Ten Minikits
- Amber – For unlocking playable dinosaurs
Please support our YouTube channel by subscribing and liking this video. We aim to provide easy to follow guides and any feedback is welcome.

Amber – Mosasaurus (00:16):
As soon as you start the level, head to the InGen terminal next to you and use it to open to door to the John Hammond labs. Enter the lab and use Owen to sneak past the camera, use the terminal, and release the amber crystal.
Minikit #1 (01:05):
Just to the right of where you spawn is an InGen access panel, use it and enter the new area. Head to the left and use the white board to get a minikit.
Minikit #2 (01:34):
Head into the next room on the left and use the terminal to get the minikit.
Minikit #3 (02:13):
Head into the next room and destroy all the Lego bricks. Use what is left to then rebuild the egg incubator and get the minikit.
Minikit #4 (02:57):
At the start of the level to the left will be a blue panel Claire can use, once she does a minikit will pop out of the vending machine to the left.
Minikit #5 (03:16):
Head to the right from the level starting point until you see a gold wall. On the left side of it is a dig spot that contains a minikit.
Minikit #6 (03:57):
On the left side of the street, use a dinosaur to charge the cracked door and grab the minikit.
Minikit #7 (04:03):
On the right side of the street, destroy the bench and rebuild it into a raptor point. Use the point to open the door and head inside and hit the switch to turn on the power. Next use the small crawl hatch and head up top. On the right of where you come out there is glass to shatter for the minikit.
Minikit #8 (05:40): Story Mode
While you are on the gun shooting the Rex, there are three birds you can also shoot. One on the left, one back left, and one on the right. They are all on the edges of buildings.
Minikit #9 (07:40): Story Mode
After the T-Rex comes out and you’re in the new area, head to the bottom right corner and you will see a vending machine that needs to be repaired. Fix it to find a minikit
Minikit #10(08:53): Story Mode
Just above the last one you will see a poop pile in the far right corner. Use it for the final minikit of the game.
Keep up to date with all the latest from Life In Brick’s videos by heading over to our YouTube Channel and subscribing.


