

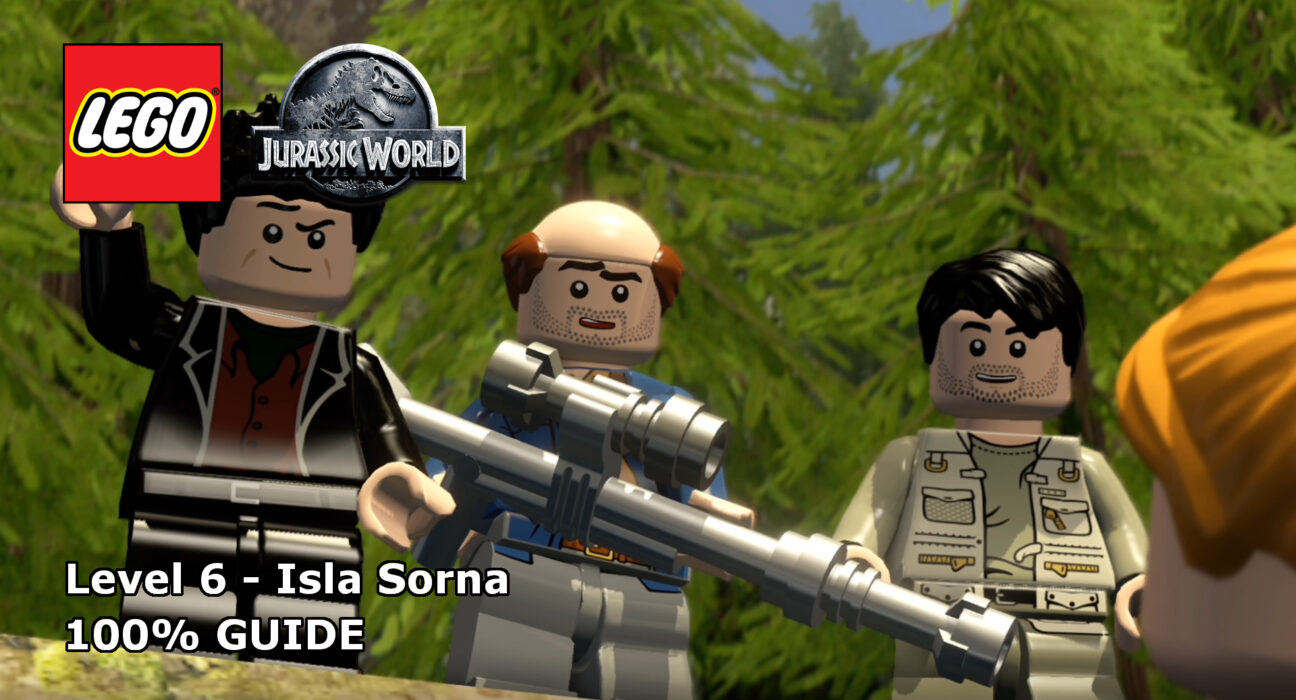
This guide will show you how to achieve 100% completion on LEGO Jurassic World Level 6, Isla Sorna.
The video will show you what is required to 100% the level with additional detail below for each part. Each level of the four core movie story-lines requires you to collect the following:
- Ten Minikits
- Amber – For unlocking playable dinosaurs
Please support our YouTube channel by subscribing and liking this video. We aim to provide easy to follow guides and any feedback is welcome.

Amber – Stegosaurus (05:55):
While up against the stegosaurus at the end of the level, destroy three cracked rocked in the area for the amber crystal.
Minikit #1 (00:16):
At the beginning of the level head behind the first car and shoot down the tire shelf. Jump on one of the tires and roll it to the left of the area where it can be placed on a wind up cog to raise the minikit from a lower level.
Minikit #2 (00:52):
Once you have used the high hide to reach the upper level there is a cabinet which can be opened with some bolt cutters. Open the cabinet to reveal the minikit.
Minikit #3 (01:14):
Next to the cabinet from minikit #2 there is an electrical switch on the wall, shoot it. This will stop steam from escaping out of the vents just to the right and allow you to climb up to a higher level to retrieve the minikit.
Minikit #4 (01:50):
There are three piles of dinosaur bones hidden throughout the area which need to be built in order to get this minikit. From the beginning of the level:
- Next to the paint mixing machine.
- Under a bin in the lower level where the high hide is.
- In the final part of this area, to the left of the large truck.
Minikit #5 (03:05):
Below the stairs which lead from the high hide upper level to the final part of the area there is a teleport machine (reference to The Fly) with an electrical switch above. Shoot the switch to activate the teleport and characters dressed as dinosaurs appear from a second teleport machine to the right. Kill 10 of these characters to get the minikit.
Minikit #6 (04:11, 04:55):
In the forest area there are three poop piles that you need to investigate for this minikit:
- At the beginning of the area on the right.
- Behind the large crossbow that you need to construct.
- In the middle of the final part of this area before you locate Sarah.
Minikit #7 (04:24):
Head up to the second upper level. At the back of this area is a cave covered by a breakable wall. Use the pachycephalosaurus to break this wall and then collect the minikit.
Minikit #8 (04:38, 05:19):
From the start of the forest area of the level there are three targets to shoot for this minikit.
- On the tree to the left in the first part of the area.
- On the third upper level, to the right of the area.
- Far left of the final area before you reach the stegosaurus boss.
Minikit #9 (05:26):
In the same area as the final minikit #8 target, there is a dig site to the left. With Alan Grant dig up the area to reveal a trail item. Follow the trail to retrieve the minikit.
Minikit #10 (06:14):
In the final part of the level, when you’re running around the adult stegosaurus, head to the back of the area to find a pile of bones. This pile can be built into a wind-up cog machine which brings up four moving target to shoot. Shoot all of the targets to retrieve the minikit.
Keep up to date with all the latest from Life In Brick’s videos by heading over to our YouTube Channel and subscribing.


