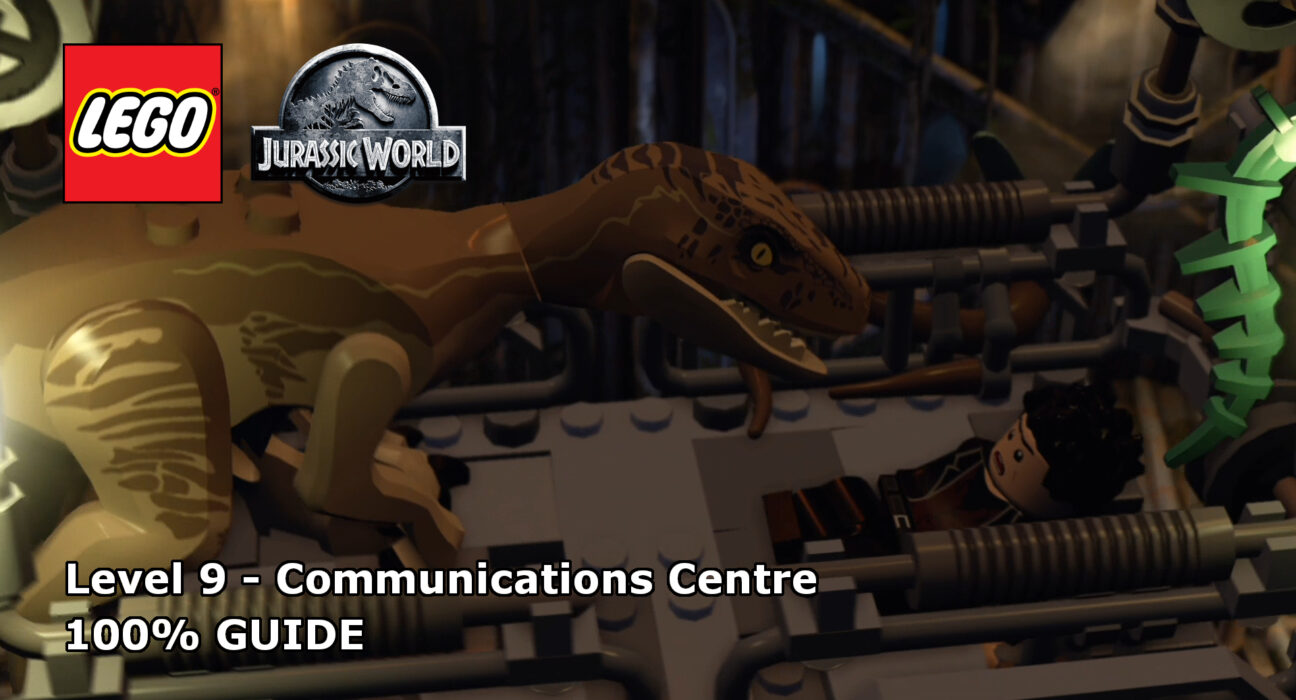
This guide will show you how to achieve 100% completion on LEGO Jurassic World Level 9, Communications Centre.
The video will show you what is required to 100% the level with additional detail below for each part. Each level of the four core movie story-lines requires you to collect the following:
- Ten Minikits
- Amber – For unlocking playable dinosaurs
Please support our YouTube channel by subscribing and liking this video. We aim to provide easy to follow guides and any feedback is welcome.
Amber – Apatosaurus (00:36):
After you’ve jumped over the gate, use a raptor to follow the scent trail to some bricks to build. Build these into an electrical target and shoot it to reveal a normal target. Shoot that for the amber crystal.
Minikit #1 (00:16):
At the start of the level in the top left corner are some barrels you can break, build the Lego pieces to find a minikit.
Minikit #2 (01:27):
There are three signs to rebuild in the first area in this level.
- After jumping over the wall head up the path a little and there will be a bunch of Lego items to break, rebuild the Lego pieces into a sign.
- The second sign will be right in front of you as you exit the garage.
- Just on the other side of the truck that the dinosaur jumps on is the last sign that needs rebuilding.
Minikit #3 (01:48):
Just next to the last sign post from minikit #2, to the right of the door you need to go through, is a dark area that Ian can walk into and grab a minikit.
Minikit #4 (01:59):
As you are climbing the tower a raptor will bust through a wall and jump on top of you, walk into the dark area he came from for a minikit.
Minikit #5 (02:08):
Further up in the tower before climbing up the blue/pink wall, to the right is a skeleton with a target, shoot it for a minikit.
Minikit #6 (02:21):
At the top to the left of the glass cabinet, in the left corner break the lego pieces to reveal a crawl hatch. Go through the hatch and grab the minikit.
Minikit #7 (02:41):
After you slide down the first zip-line in the back right corner is a fan, hit it and it will spit out a minikit for you to put together.
Minikit #8 (02:53):
There are three satellites to repair in the final area.
- Just next to the fan is a satellite you can repair.
- After you jump across the poles head left to find the second one.
- After sliding down the next zip-line it will be right next to you when you land.
Minikit #9 (03:30):
Just to the right of the last satellite dish to repair is a target to shoot, climb up and grab the minikit.
Minikit #10 (03:49):
In the right corner is a crowbar spot you can open, inside is the minikit.
Keep up to date with all the latest from Life In Brick’s videos by heading over to our YouTube Channel and subscribing.
