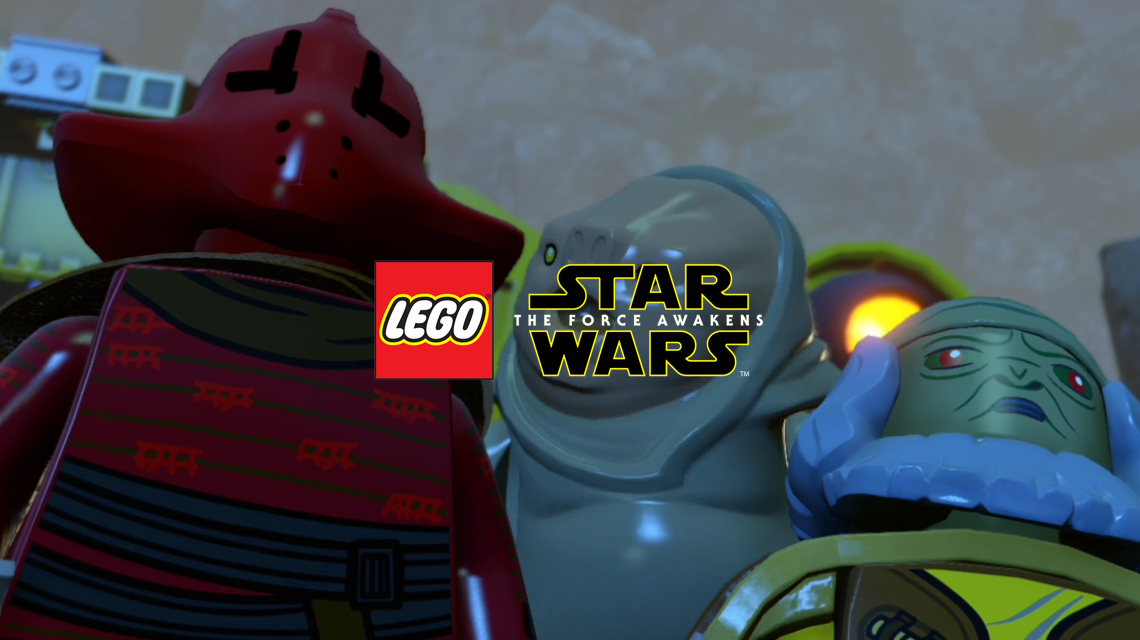
This video will guide you through LEGO Star Wars: The Force Awakens. The guide will show you where to find all of the Minikits and the Red Brick are.
Like most LEGO games, there are 10 minikits to be found on each level and the video above will show you how to find them all.
Minikit #1:
As soon as the level begins head left and destroy the golden bricks holding a boulder in the wall. Once the boulder is freed, destroy it for the first minikit.
Minikit #2:
Next, head right and you will see a grapple hook on the side of the ship, pull it out for the minikit.
Minikit #3:
Use the Force on the ships wing for the minikit.
Minikit #4:
As you enter the outside area which requires you to destroy the power generator, use the multi-build function to construct a spider-like droid which will produce the minikit for you.
Minikit #5:
Once you’re up the stairs and through the door into the corridor, to the left there is an access panel which controls a vending machine next to it. Once activated the machine will throw out a minikit.
Minikit #6:
From the last minikit, head right until you’re outside again, you’ll see some stormtroopers down a path to the back of the screen. Kill them and then use the Force to destroy the fan on the wall where they were and reveal the minikit.
Minikit #7:
Once you’ve released the flying droid that creates a grapple hook for you to pull yourself up to the higher level, follow the path round to the left and pull the grapple hook off the wall for the minikit
Red Brick:
Once you’ve cross the big gap in the floor you’ll notice a red lit area with a droid inside. Use the multi-build option to complete the circuit to the right of that area. This will lower the shield and allow you to enter and retrieve the red brick.
Minikit #8:
There are three dog-sized alien creatures to destroy. The first is at the very start of the level, just to the right of the ship. The second is in the area where you have to block the electricity coming from a crater to climb the stairs. Just to the right of the stairs in one. The final one is sitting on the high platform which you go on when you’re pushing a tower down to form a bridge to the final area.
Minikit #9:
On the final platform before you retrieve the ship, head to the front of the screen and follow a beam heading out over the cliff. At the end you will find the minikit.
Minikit #10:
In the final area, once you’ve destroyed the mini TIE and climbed up to the higher platform, floating over on the left you will see a platform with a minikit on it. Use the Force to pull that minikit to you.
Keep up to date with all the latest from this series of videos and other from Life In Brick by heading over to our YouTube Channel and subscribing.
