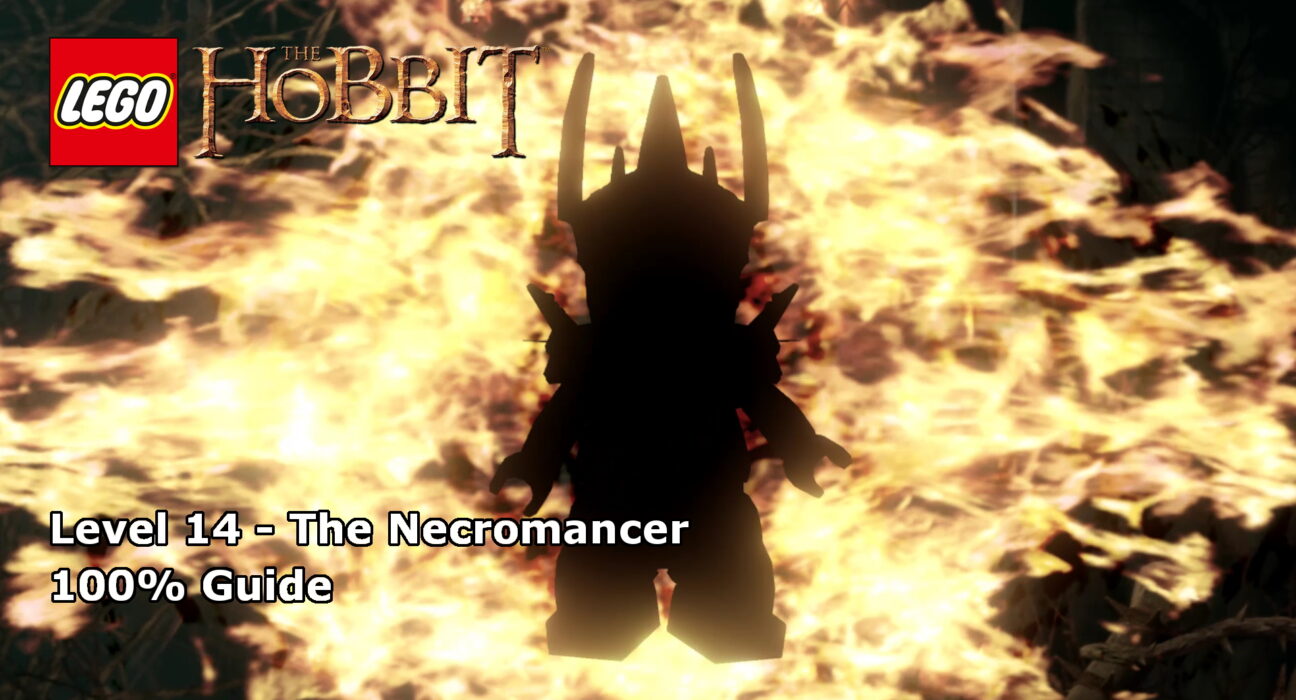
This guide will show you how to achieve 100% completion on LEGO The Hobbit Level 14 – The Necromancer.
The video will show you what is required to 100% the level with additional detail below for each part. Each level of the core story requires you to collect the following:
- Ten Minikits
- Four Treasures
- A blacksmith design
Please support our YouTube channel by subscribing and liking this video. We aim to provide easy to follow guides and any feedback is welcome.
Minikit #1 (00:58):
After entering the ruins, there is a small column that has a grappling hook on it’s side up on the high level. Pull it down for the minikit.
Minikit #2 (00:36, 01:18):
There are five targets to shoot for the minikit. Most are obvious to spot, but watch the video above for the specific locations.
Minikit #3 (01:33):
In the second area (with the 3 beams),on the upper left level, there is a goblin wall that you can climb for the minikit.
Minikit #4 (01:55):
On the back upper level, there is a cracked wall to smash for the minikit.
Minikit #5 (02:45):
When building the beam to the right of the previous minikit, the darkened doorway is concealing a minikit.
Minikit #6 (03:03):
In the next area (with the axe in the middle), there’s a dig spot off to the right. Dig up the pieces and use Bilbo with the ring to build the minikit.
Minikit #7 (03:28):
Same area, at the top of the step on the right is a silver bricked gate. Destroy it and walk through to a hidden room. On the far right is a fire point. Use it to light the candles and get the minikit.
Minikit #8 (03:59):
On the left of the hidden room, you’ll find a elf jump point. Use it to swing up to the top path. Follow the path all of the way around to the minikit.
Minikit #9 (04:45):
Come back out of the hidden room and head to the far left, near where you started in this area, to find some poles to hang on and jump up and grab the minikit.
Minikit #10 (05:07):
Once you’re in the running section of the level, just stay in the middle and don’t jump and you should hit the minikit.
Treasure #1 – Hot Dog Shield (02:14):
In the second area (with the 3 beams),on the upper back level, there is a cracked wall on the left, on the right, however, there is rock and debris that can be destroyed. Use Bilbo and the ring to rebuild the bricks and grab the treasure.
Treasure #2 – Morgul-blade (02:56):
In the area with the axe, just to the right is a broken wall. Destroy the darkness object in there with Sauron for the treasure.
Treasure #3 – Marching Baton (04:28):
In the hidde room (see minikit #7), in the middle there are three catapult targets. From left to right set them as: RED, GREEN, BLUE for the treasure.
Treasure #4 – Whistling Flail (05:12):
During the final battle, there is a dig spot on the far right. Dig up a rock and then throw it at a target high in the tree for the treasure.
Blacksmith Design – Mithril Wraith Armour (00:18):
At the very beginning of the level, turn around and head in the wrong direction. You’ll see a tree with arrow points in that an elf can use to swing up and grab the instructions.
Keep up to date with all the latest from Life In Brick’s videos by heading over to our YouTube Channel and subscribing.
