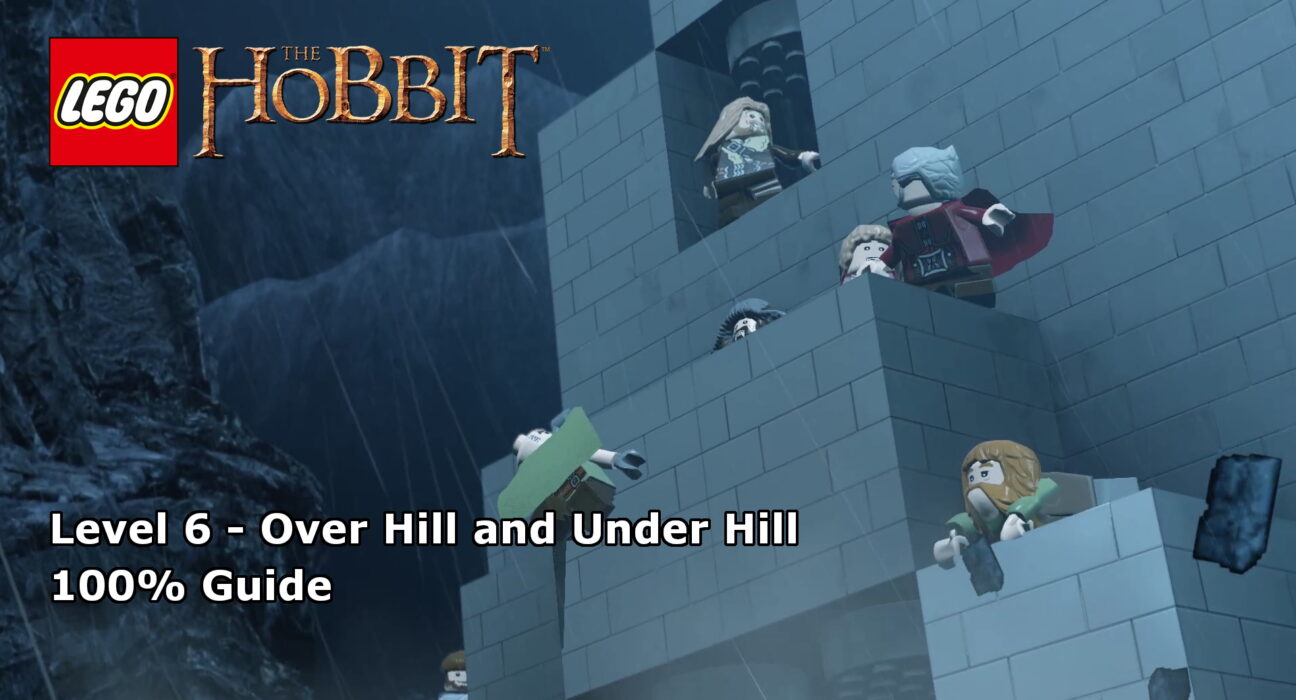
This guide will show you how to achieve 100% completion on LEGO The Hobbit Level 6 – Over Hill and Under Hill.
The video will show you what is required to 100% the level with additional detail below for each part. Each level of the core story requires you to collect the following:
- Ten Minikits
- Four Treasures
- A blacksmith design
Please support our YouTube channel by subscribing and liking this video. We aim to provide easy to follow guides and any feedback is welcome.
Minikit #1 (00:32):
Underneath the platform with the first crank is a mine shaft entrance. Use a wizard to light the way and then head in for the minikit.
Minikit #2 (01:06):
On the lower level, as you move right you’ll come across a cracked wall. Smash it open for the minikit.
Minikit #3 (01:56):
At the end of the lower level, you’ll find a silver bricked chest. Break it apart and build the left over pieces into a machine to smash the breakable boulders in the wall, there are three of them. Destroy all three for the minikit.
Minikit #4 (00:38, 01:23, 01:53, 02:35):
Along the route there are five skeletons to destroy for the minikit. There are:
- Just to the left of minikit #1
- On the lower level, when you reach the point where you’ve got to jump on to a fallen rock, in the hole the rock is perched.
- Lower level, as you turn the corner towards minikit #3
- To the left of the goblin climbing wall
- At the end of the path you smash the minecart along
Minikit #5 (02:56):
After smashing the mine cart along the track, use the grappling hook on the chest on the cliff edge for the minikit.
Minikit #6 (03:11):
Once on the moving rock giant, follow the path until you see a silver-bricked rock. Destroy it and head into a secret room. There’s a large map inside with two crates to the right, destroy the crates. Next use Bilbo with the ring to build the left over pieces into a ladder up to the top of the map. Turn the turnstile until he map burns away revealing the minikit.
Minikit #7 (04:03):
Just in front of where the map was are two tables. Destroy them both and rebuild the left over bricks into switches that both characters must stand on for the minikit to appear.
Minikit #8 (04:25):
Just to the right of the last minikit is a dig spot. Dig up the cracked floor and then smash it with a dwarf for the minikit.
Minikit #9 (06:16):
As you reach the top of the rock giant, head to the far left to find a large rock hiding a cracked wall. Destroy the rock and smashed the wall for the minikit.
Minikit #10 (06:31):
Just before the end of the level, turn back on yourself and follow the lower path down to a statue for Sauron to destroy for the minikit.
Treasure #1 – Yo-yo (00:42):
At the beginning of the level, switch to the lower level and destroy the silver-bricked rock to your left. This will reveal a crank that can be used to pull the treasure up with the crane.
Treasure #2 – Workman’s Axe (01:28):
On the lower level, you’ll reach a point where you find a crawl hatch blocked by planks that a wizard can remove. Shoot them off and head in for the treasure.
Treasure #3 – Misty Mountain Shield (04:49):
In the hidden room (see minikit #6), head to the far right and destroy the crates near the water. Rebuild the left over bricks into a fishing point for the treasure.
Treasure #4 – Stone Giant Gloves (05:34):
Again, in the hidden room, at the back right of the room is three catapult targets. Set the targets to GREEN, RED, BLUE for the treasure.
Blacksmith Design – Mithril Flail (00:18):
At the very start of the level, directly behind you is a point for an elf for shoot an arrow and then swing up for the instructions.
Keep up to date with all the latest from Life In Brick’s videos by heading over to our YouTube Channel and subscribing.
