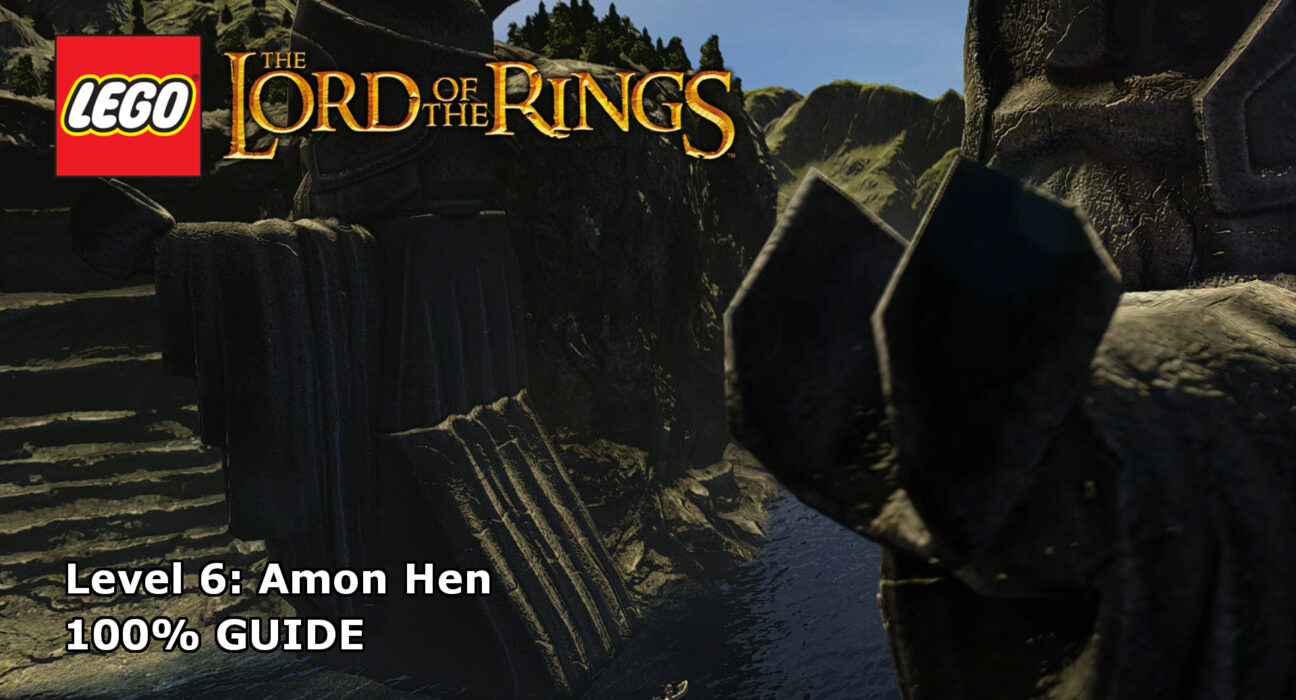
This guide will show you how to achieve 100% completion on LEGO Lord of the Rings Level 6 – Amon Hen.
The video will show you what is required to 100% the level with additional detail below for each part. Each level of the core story requires you to collect the following:
- Ten Minikits
- Three Treasures
- A blacksmith design
Please support our YouTube channel by subscribing and liking this video. We aim to provide easy to follow guides and any feedback is welcome.
This level required the Mithril Rope (collected in this level), a Mithril Bow and a Mithril Axe in all to collect all of the treasures.
Minikit #1 (00:28):
At the top of the first set of stairs, Frodo will need to build steps up to the higher platform. Behind them, there are breakable rocks hiding the minikit.
Minikit #2 (00:54):
Further up, once you’ve catapulted the rock as a distraction, you’ll see there is a target next to what you hit. Shoot the target and a large piece of statue will roll down the hill. Head back down and use the catapult to knock down the minikit.
Minikit #3 (02:20):
On the beach, to the right of the blocked exit, there are two purple statues. Use magic to make the left one look like the right one and the minikit will appear.
Minikit #4 (04:36):
Further up the track when you have to push the platforms into place to jump up the hill, first move them to the back right of the platform so that you can jump into a small cavern in the rock for the minikit.
Minikit #5 (04:57):
Just before you reach the top of the hill, there is a rope pull point which pulls down a load of ruins from above and also opens up the cave under where the ruins were. Head inside with a character that can light up the dark and destroy the rock for the minikit.
Minikit #6 (00:24, 00:46, 01:42, 02:48, 04:24, 05:25):
There are six statues to hit for this minikit. Hit them all.
- Half way up the first set of steps that Frodo must climb. Requires Mithril Bow.
- Next to the catapult.
- On the high right platform that Frodo needs to crawl through a hatch for.
- On the left side of the beach.
- On the story path, after climbing over a fallen tree.
- At the top of the hill, before you find Frodo’s trail.
Minikit #7 (04:10, 04:30, 05:30):
There are four morgul rocks to destroy for this minikit. Destroy all four.
- On the far left of the beach.
- On the far right of the beach.
- On the platform where you push the pillar off the edge.
- At the top of the hill, to the right of Frodo’s trail.
Minikit #8 (05:48):
This is is easy to spot as you’re working your way through the final area before the boss fight. It’s on high ledge in the second section, on the left. Use Sam to grow a plant to grab it.
Minikit #9 (06:00):
From the previous minikit, head to the far front right of this area to find a silver-bricked gate. Destroy it and head in. There is a tower to work your way up. The minikit is at the top.
Minikit #10 (07:24):
In the area where you face the boss, there are six targets around the outside. Shoot all six for the minikit.
Treasure #1 – Stop Wand (01:48):
This requires a mithril rope and axe to retrieve. Once you reach the point on Frodo’s path where you walk under a high bridge with a rope point on it, use the rope point to pull yourself up to the top. Up on top there is an axe point to use for the treasure.
Treasure #2 – Arrow Helmet (02:53):
This treasure requires you to cook a breakfast to distract a ghost guarding a chest on the left of the beach. There is a fish in a dig spot next to the chest, a tomato on the high pillar to the left of the exit path, and a dig spot with an egg on the far right. Use the campfire to cook the food and lure the ghost away from the chest which contains the treasure.
Treasure #3 – Uruk Sword (05:35):
In the final are before the boss fight, follow the story path until you see two silver pillars on the left. Destroy them for the treasure.
Blacksmith Design (07:56):
On the boss right, use the crawl hatch to get up behind him, but before hitting him, hit the statue to his right for the design.
Keep up to date with all the latest from Life In Brick’s videos by heading over to our YouTube Channel and subscribing.
