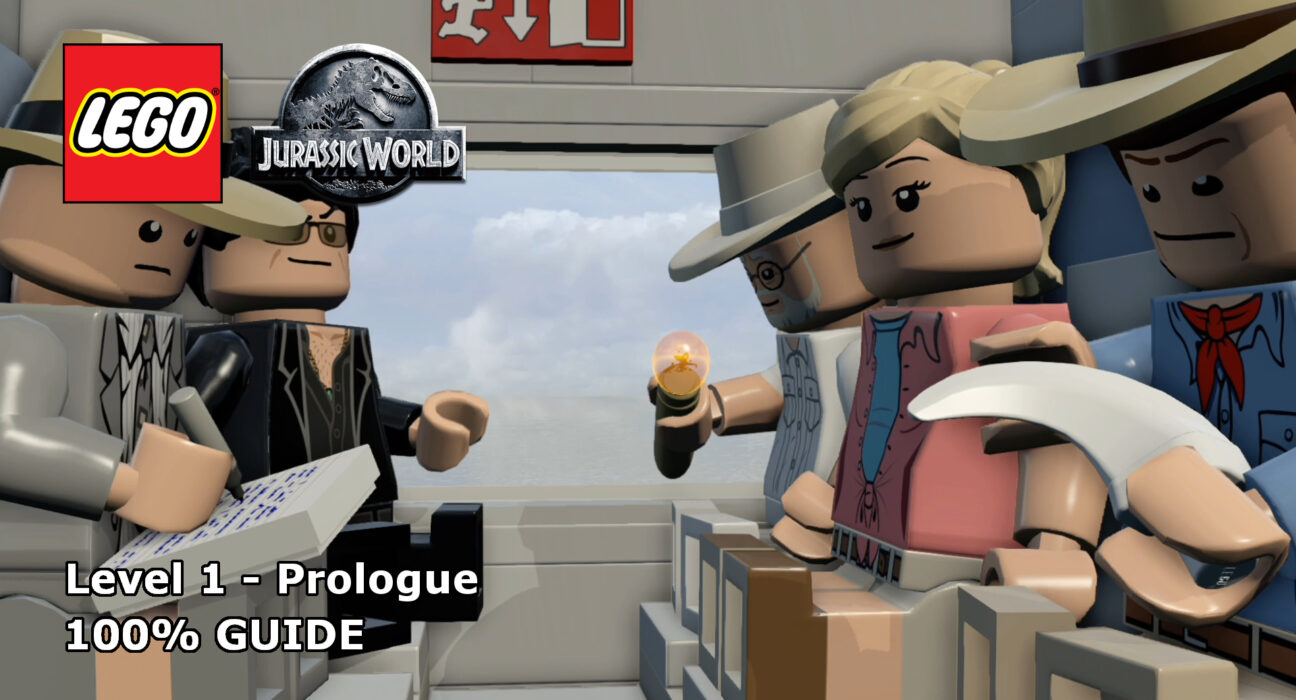
This guide will show you how to achieve 100% completion on LEGO Jurassic World Level 1, Prologue.
The video will show you what is required to 100% the level with additional detail below for each part. Each level of the four core movie story-lines requires you to collect the following:
- Ten Minikits
- Amber – For unlocking playable dinosaurs
Please support our YouTube channel by subscribing and liking this video. We aim to provide easy to follow guides and any feedback is welcome.
Amber – Gallimimus (03:24):
To the left of where you fix the seismic thumper, there is a cave. Use a character who can use dark spaces to retrieve the amber crystal.
Minikit #1 (00:16):
At the beginning of the level, build the ladder so that you can reach the higher platform. Once up, head right and there are two generators to activate. Once they’re activated head to the left and to the back of the area where you will find the third generator to activate and receive the minikit.
Minikit #2 (00:52):
Above where the raptor cage is, there is the spotlight you need to shoot in order to repair the track. To the right of this is a second spotlight, if you shoot it twice it will explode into a minikit.
Minikit #3 (01:12):
Using Nick Van Owen’s crowbar, open the security fence on the left of the upper terrace. Once inside, select a character to find the minikit in the poop pile.
Minikit #4 (01:50):
There are 4 red warning lights that flash on the security fence around the paddock. Shoot all 4 of these lights to earn the minikit.
Minikit #5 (02:04):
Once you have completed the second raptor skeleton, select a female character and jump on to it. From here you will be able to reach the minikit inside a rock cave.
Minikit #6 (02:45, 03:47):
There are four sand castles to build in order to get this Minikit:
- In the same area as minikit #5.
- On the rock ledge above Road Sweeper.
- In the ravine where you fix the seismic thumper.
- Near the dig site trailer in the upper camp.
Minikit #7 (03:35):
Locate a blue tent on the left side of the trailer, you will see that there are vines behind it. Use Grant’s raptor Claw to slash through the vines to reveal the minikit.
Minikit #8 (03:58):
In the final area, the upper camp, there is a small entrance that a small character can crawl into. This brings you to an area where there is a sparkling crate, use a character like Claire Dearing with the Jurassic World scanner ability, this will open it and you will find the minikit there
Minikit #9 (04:55):
In the same location as minikit #7, you can see a guy trying to roast chicken on tiny fire. You need to help him, break 2 two tan crates behind him and build a bellows. Now jump on it and you will see the minikit there.
Minikit #10 (05:10): Free Play
In the upper terrace of the dig site, where the trailer is which ends the level, there is a chain lock to the right of the trailer. Using a character with bolt cutters, open the crate and build the Road Sweeper. There are 3 sand piles which you need to clean up in order to receive the minikit.
Keep up to date with all the latest from Life In Brick’s videos by heading over to our YouTube Channel and subscribing.


