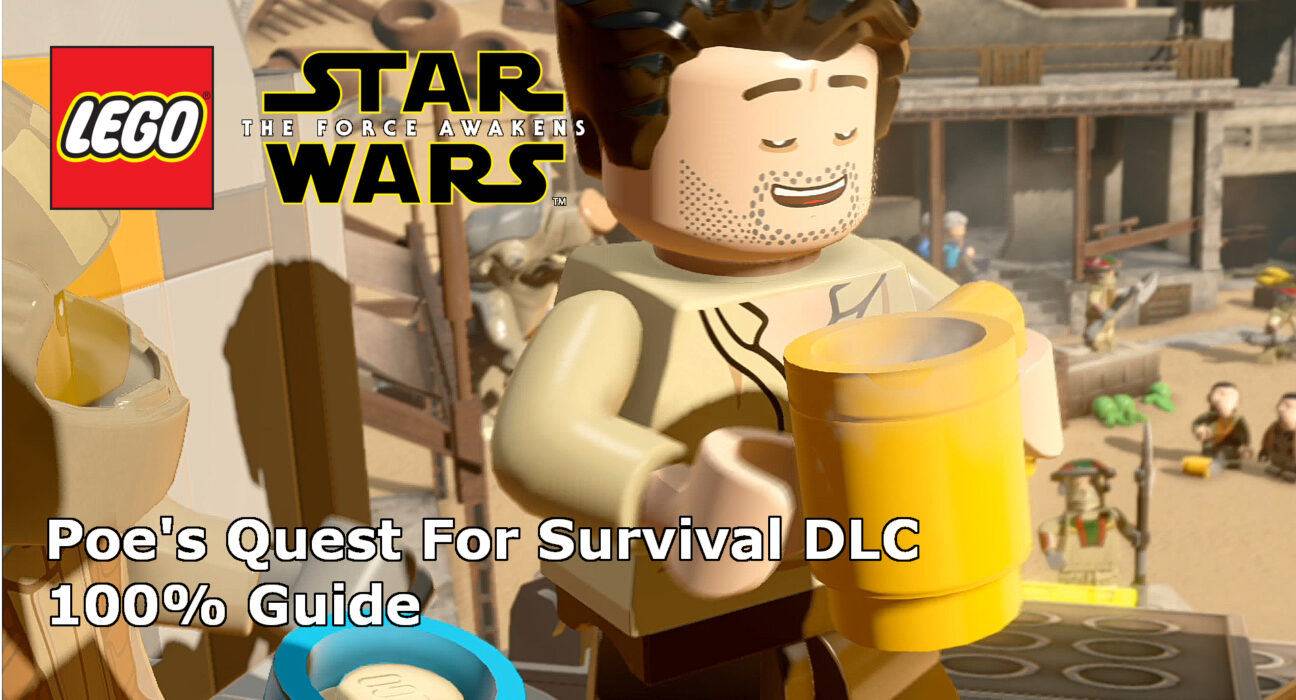
This guide will show you how to achieve 100% completion on the LEGO Star Wars: The Force Awakens DLC level, Poe’s Quest For Survival.
The video will show you what is required to 100% the level with additional detail below for each part. The DLC levels for the game only require you finding minikits to complete, there are ten on each level to find.
Please support our YouTube channel by subscribing and liking this video. We aim to provide easy to follow guides and any feedback is welcome.
Minikit #1 (00:18):
As you’re speeding through the desert, at the beginning of the level, you’ll see AT-AT (the big walkers) wrecks scattered around the path you take. Simply shoot and destroy four of them for the minikit.
Minikit #2 (00:48):
Once you’ve made it past the traps which spring up, stick to the left of the screen and you’ll see the minikit just floating in the path. Hit it to collect it.
Minikit #3 (01:19):
After you shoot-out, head left to find an Admiral Ackbar pool. Jump in to be transported to a hidden area where you’ll need to head right and destroy the debris next to a lift. This will give you a multi-build to beat the puzzle. First, build the option to send the elevator up (once one of your characters is inside the lift). Once your other character is up high, use the second multi-build option to build a path to the minikit.
Minikit #4 (02:04):
There are three statues that can be destroyed using the Force. The first is in the secret area from the previous minikit. The second can be found outside the bar entrance. The third is in the bar, to the right. Destroy all three for the minikit.
Minikit #5 (02:40):
Inside the bar, to the left, there is a booth which can be destroyed to create a pole point for a character such as Rey to use to rotate the portrait on the wall and reveal the minikit.
Minikit #6 (03:00):
Use the force on the large coffee machine looking machine in the middle of the bar. After a couple of drinks have been made, the minikit will be revealed.
Minikit #7 (03:21):
Next head up to the roof of the bar to find the minikit floating there. The easiest minikit in the level.
Minikit #8 (03:27):
In the middle of the area, to the right of the bar entrance, you’ll see a cracked wall. Use a strong character to bash through the wall and get the minikit.
Minikit #9 (03:37):
On the far right of the area, there is a wall which can be climbed up to retrieve the minikit.
Minikit #10 (03:47):
On the left of the environment, there is a large post to use detective mode on. This will reveal a silver bricked base to destroy. Blow up the base and destroy the large structure. This will release a small yellow valve handle which can be picked up and used on the fountain to reveal the minikit.
Keep up to date with all the latest from this series of videos and other from Life In Brick by heading over to our YouTube Channel and subscribing.
