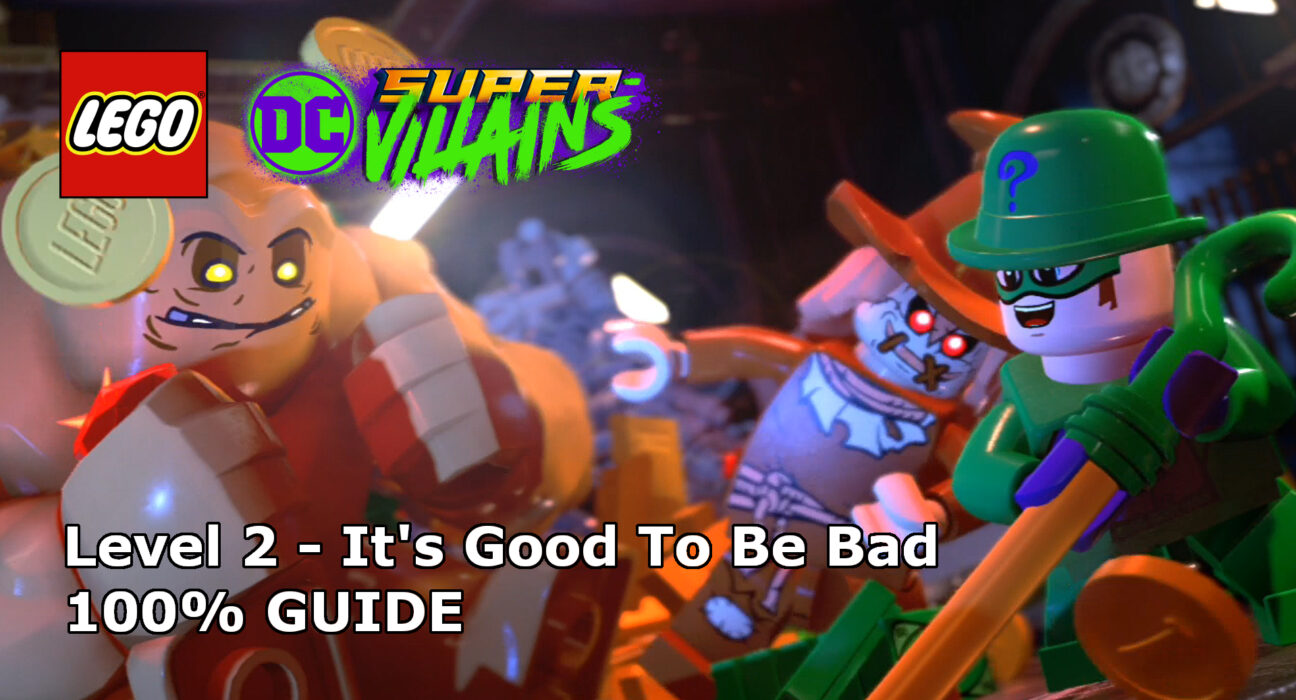
This guide will show you how to achieve 100% completion on LEGO DC Super-Villains Level 2, It’s Good To Be Bad.
The video will show you what is required to 100% the level with additional detail below for each part. Each level of both the core story and bonus Justice League story requires you to collect the following:
- Five Minikits
- The Graffiti Tag
- Red Brick
- Hidden Character Token
Please support our YouTube channel by subscribing and liking this video. We aim to provide easy to follow guides and any feedback is welcome.
Graffiti Spot (00:44):
Once you head through the grate in order to come up behind the police officers on the stair, you’ll see the graffiti spot on the wall near the exit grate.
Character Token – Commissioner Gordon (01:49):
In the second area, in the upper room where you build the drone, there is a hacking terminal. Use a character who can shrink to head in, complete the puzzle and release the lock on a jail cell below. The character token is in the cell.
Red Brick – Paint Splat Footprints (03:18):
On the upper floor on the right side of the Iceberg Lounge, you’ll find a fish tank. Shatter the glass and then use telekinesis on the fish for the red brick.
Minikit #1 (00:30):
As soon as you begin the level, head left at the bottom of the stairs. You’ll find a fire that if you put out will reveal the minikit.
Minikit #2 (00:58):
Halfway up the stairs on the left, you’ll find a pot plant which can be destroyed with telekinesis. Once destroyed, it will reveal a dig point to use for the minikit.
Minikit #3 (01:24):
At the back of the first area, you’ll find two elevator doors. Destroy the filing cabinet between the doors and build the remaining bricks into a lever which can call the elevator and reveal the minikit.
Minikit #4 (02:49):
Once in the Iceberg Lounge, the final area, turn around and head to the back of the van that brought you there. The back is cracked and with a super-strong character can be destroyed to reveal the minikit.
Minikit #5 (02:57):
From the main stairs in the Iceberg Lounge, head up to the frozen fountain. Melt the ice for the minikit.
Keep up to date with all the latest from Life In Brick’s videos by heading over to our YouTube Channel and subscribing.
