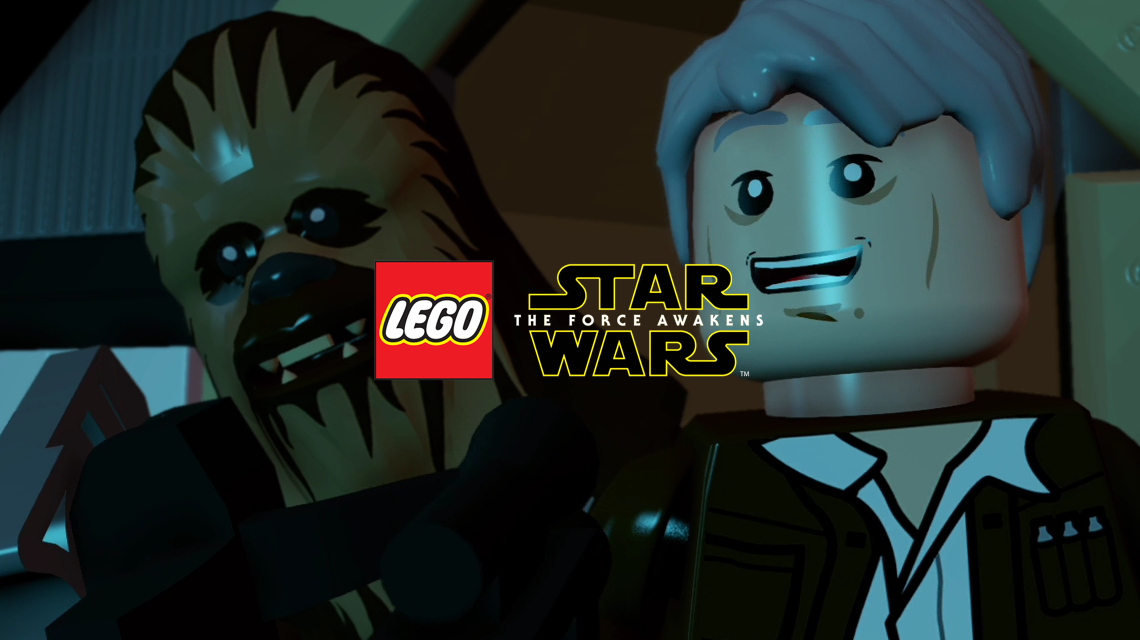
This video will guide you through LEGO Star Wars: The Force Awakens. The guide will show you where to find all of the Minikits and the Red Brick are.
Like most LEGO games, there are 10 minikits to be found on each level and the video above will show you how to find them all.
Minikit #1:
After you’ve passed through the corridor filled with gas, the is a droid panel on the far left which when activated opens the door next to it. Go through into a new area and as soon as you enter, jump up to the top level and retrieve the minikit in full view.
Minikit #2:
In the same area, head left to find a container which can be destroyed. Use the bricks to construct an access panel. Once activated, the wall will open and a Rathtar will attack, once you’ve fended off the beast you’ll be able to retrieve the minikit.
Minikit #3:
The Rathtar attack will destroy the panel from the previous minikit and allow you to build the bricks into a BB-8 access panel. Once activated a pile of bricks will fall out of a nearby fan which can be constructed into the next minikit.
Red Brick:
Once you’ve defeated the Rathtar during the cover-fire sequence, head down the corridor and off to the right. There is a grapple hook which once pulled from the wall will reveal the red brick.
Minikit #4:
After you have the red brick and send BB-8 through the small hatch into the next room, head to the top right corner and use a Force user to send a drill into the wall and reveal the minikit.
Minikit #5:
While running down the corridor from the Rathtar, when you turn the corner and head from left to right, there is a minikit within jumping distance about halfway down.
Minikit #6:
In the room where you must trap the Rathtar in the door, head to the bottom left and use the force on the large brick to reveal an Admiral Ackbar access point. Use this to retrieve the minikit.
Minikit #7:
In the final area, along the ceiling, you will need to shoot three Minocks. The first two are directly above the Rathtar, shoot these and then proceed through the first part of the fight with the Rathtar. Once you blow up the first crate, build the object on the left and climb up top. Hanging on the wall here is another Minock. Kill it to obtain your minikit.
Minikit #8:
On the high platform on the left, once you’ve shot the final Minock, switch to a lightsaber user and cut open the circular section of wall to find the minikit.
Minikit #9:
On the far right of the area, once you’ve dealt with the three coloured puzzle and the door to the right and been brought down, use BB-8 to go through the hatch and up to the top platform to retrieve the minikit.
Minikit #10:
Just to the left of the Rathtar, there is a grate which can be removed using the Force and reveal the minikit.
Keep up to date with all the latest from this series of videos and other from Life In Brick by heading over to our YouTube Channel and subscribing.
