

This video will guide you through LEGO Star Wars: The Force Awakens. The guide will show you where to find all of the Minikits and the Red Brick are.
Like most LEGO games, there are 10 minikits to be found on each level and the video above will show you how to find them all.

Minikit #1:
As soon as you begin the level, head to the downed ship in the middle of the first area and use the BB-8 access point. This will reveal the minikit.
Minikit #2:
There are four alien creature heads which pop out of the sand. The first is at the bottom left of the area. The next one is just in front of the downed ship. The next is at the back of the ship, and the final one is just to the right of that. Destroy all four for the minikit.
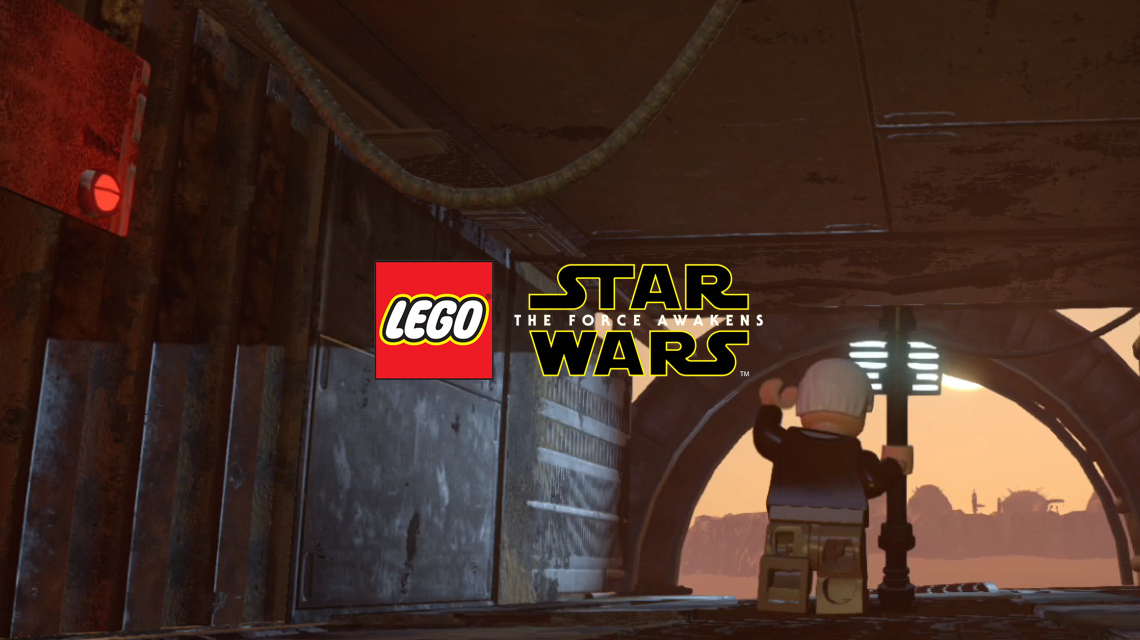
Minikit #3:
Just to the right of the four creature head from the last minikit, there is a small machine that looks a little like a minikit itself, it will reveal a droid who will guide you to the minikit.
Minikit #4:
As you move into the build up area, before you climb up to the top platform, on the far right there is a fan which can be destroyed using a lightsaber. There is a minikit behind that fan.
Minikit #5:
Once inside, you’ll reach an area with a big cavern where you will need to block the wind in order to cross, before you do that, about halfway back down the corridor you’ve come from is an Admiral Ackbar access point, dive in for the minikit.
Minikit #6:
From the last minikit location head straight forward and activate the BB-8 access point in front of you to open up a wall panel for the minikit.
Red Brick:
As you reach the edge where it’s a little windy, head to the front of the level and drop down to a hidden lower platform. Activate the BB-8 panel and use the buttons which appear to play the robot game and destroy one of the robots heads for the red brick. This will take time.
Minikit #7:
When you use the acrobatic pole to reach the higher platform to put the wind barrier up, you will see two silver bricks on the walls. The one on the left is for minikit #10, the one on the right will reveal minikit #7 and allow you to jump up and get it.
Minikit #8:
Once you’ve used your lightsaber to climb up the wall on to the middle platform head left and you’ll come to a fence which is connected to the walls with silver bricks. Blow up the connections and then shoot the center of the large fan in the next area. Keep shooting it until the minikit appears.
Minikit #9:
As soon as you have minikit #8, head forward towards the front of the screen and jump over the edge carefully to recover the next minikit.
Minikit #10:
There are four silver bricks scattered around the later parts of the level, destroy all four for the minikit. The first is right near minikit #7, the second in the final area to the far right. On the highest platform in that area, you will find another one and the fourth is extremely high up, near minikit #9.
Keep up to date with all the latest from this series of videos and other from Life In Brick by heading over to our YouTube Channel and subscribing.


